In a pot or in the ground? Part 2: How to plant in the ground in hard landscape areas
So, you’ve got a concrete garden, a large paved or gravel area, or a redundant area of driveway that you’d like to fill with plants. In the previous blog, we explored the ups and downs of the two main options you have; 1) creating a container garden, or 2) lifting slabs and breaking concrete to plant in the ground beneath. Of course, you may choose to do a bit of both.
This blog will explain how to create planting areas in the ground. Some approaches don’t involve lifting a single slab or getting a jackhammer in! We look at the different types of hard landscape you may be looking at, and consider the approaches that are suitable for each.
Gravel areas: Understanding what you’ve got
With gravel areas, the first thing to determine is what’s beneath. Gravel may be laid directly over soil, or it may be over a so-called weed-proof membrane, or it may be over compacted hardcore sub-base, which may or may not have weed-proof membrane involved.
Firstly, is the area already prone to being “weedy”? Do plants arrive and sustain themselves without any help? If so, you know the area already has conditions that will support at least some kinds of plants. This can be a starting point. However, if the area is always barren without any weeding, you know you’re going to need to make some changes to create conditions that will support life.
With a sturdy spade or a crow-bar, you may be able to break through the gravel and get an idea of what layers and materials are present, where the soil is, and what the general conditions are like.

Gravel areas: How to green them
There are various options here:
- The most hands-off approach is to minimise seedling-squashing footfall to the area, and stop clearing up dead leaves in autumn. Leaves breaking down on the surface, by worms, bugs and microbes, will increase the organic matter content in the gravel. If worms can push up from the soil beneath, they’ll pull leaves back down into the soil and leave soil-ey worm-casts on the surface. This mixing of soil and organic matter with the gravel, thanks to the action of worms, will make perfect conditions for seeds to germinate and establish.
- For gravel over soil, you may choose to just seed and plant directly into or through the gravel. Minimising foot-fall over the area will allow seedlings to grow and establish. For advice on this approach, see our blog on brownfield gardening.
- On old driveways and paths, de-compact the ground with a strong fork or a crowbar, so plants can establish. Some plants will tolerate the compacted ground beneath, but you may want to fork over the soil beneath to alleviate compaction and add soil-improver if the soil needs a boost and you’re trying to grow something a bit fussy.
- If hardcore sub-base or weed-proof fabric is present, dig and cut through these to create planting pockets in the ground beneath. This is good for trees, shrubs and perennials.
- You may find the gravel areas sustain self-seeding plants despite the membrane and hardcore. While most plants can’t root through weed-proof membranes, they can access the water and nutrients in the soil beneath thanks to a partnership with naturally occurring mycorrhizal fungi. Friendly fungi are made up of filaments which are a fraction of the thickness of a hair and have no issue finding their way through the fabric barrier.
Paved, concrete or tarmac areas: Understanding them
Paving includes things like slabs, blocks, granite setts, brick pavers, and stone. These may be found directly on top of soil, or just a bed of sand. Or it may be set in mortar, on a hardcore sub-base. There may be a weed-proof membrane beneath that. It’s also good to understand what’s between them. There may be nothing there, or they may be sand, mortar or in the case of granite setts, it could be pitch, a type of bitumen.
Again, the first thing is to observe if plants arrive and grow of their own accord. If the surface is at all permeable to water, plants usually find a place to grow.
You may want to lift or break through the hand landscaping materials, to see the layers and what’s beneath the surface. With brick pavers or slabs this can be easy and minimally non-destructive, whereas with solid concrete and tarmac you’re likely going to need to hire a breaker to get through.
Paved, concrete or tarmac areas: Easy ways to green them
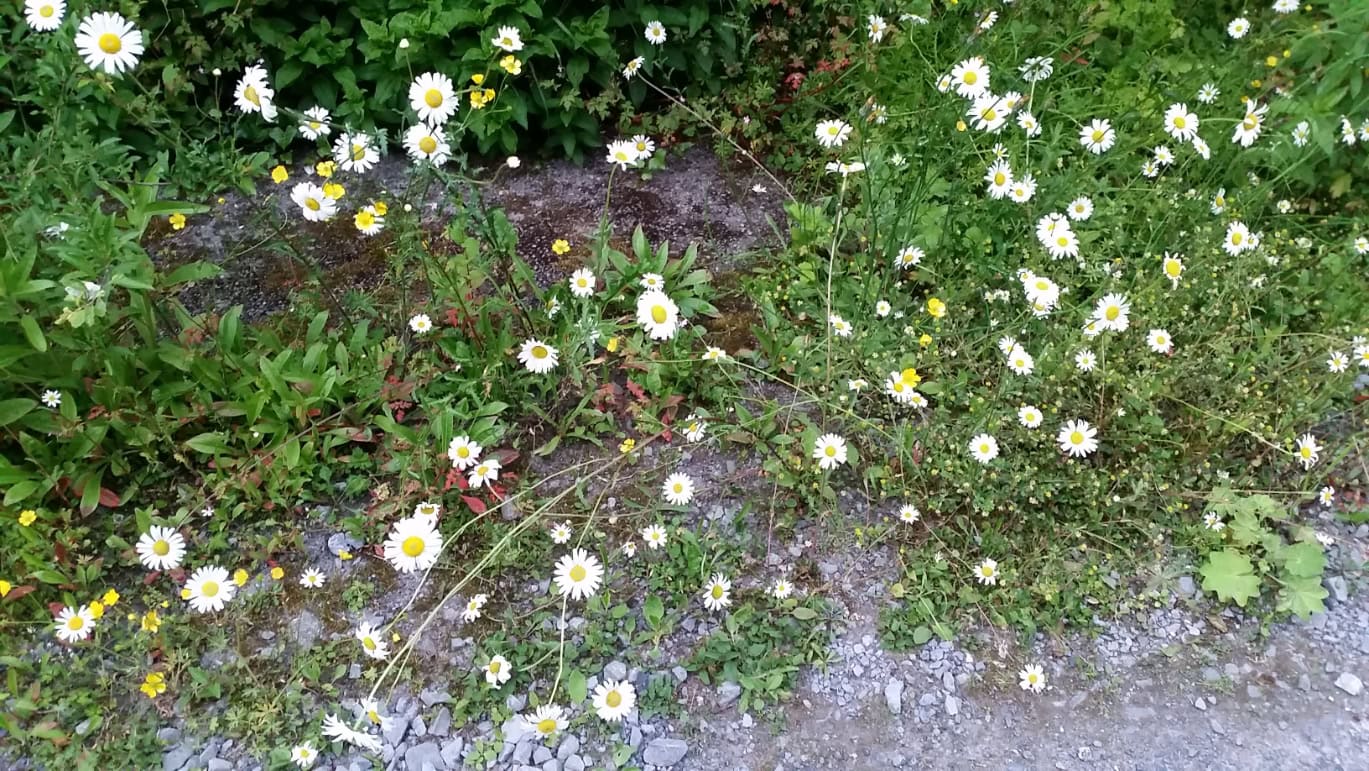
If plants do grow in the cracks and gaps, you can create a garden just by weeding. You’ll never have to buy plants! Pull out what you don’t like, give space to the plants you do like. You can scatter seeds, or plant things directly into the cracks, being sure to keep hand-weeding so your desired plants come through. Trees and shrubs will grow in cracks if you plant young seedlings or allow self-seeded trees to grow. You can also create cracks with a sledgehammer and chisel, or as above, with a breaker. This approach creates a certain kind of urban wilderness aesthetic that can be very romantic. It can create spaces that are both functional as paths and paved areas, with plants softening the edges.

Paved, concrete or tarmac areas: Getting the tools in
If the light-touch approaches detailed above aren’t feasible or ambitious enough to create the green oasis you have in mind, you may have some heavy work to do…
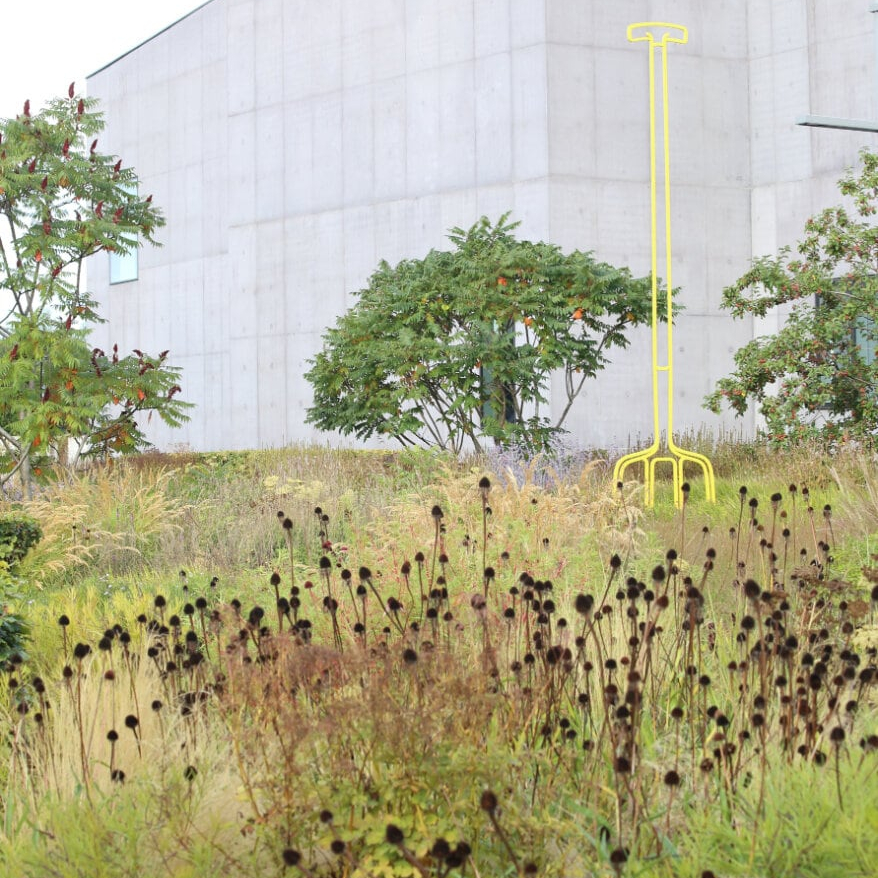
Lifting or cutting through and removing the hardscape materials can be a heavy process. Ultimately, this allows you to create planting areas in the most traditional sense. In the Netherlands, lifting slabs is almost a sport, as municipalities compete in how many slabs they have lifted to create planting areas in residential gardens. They call it tegelwippen, “tile whipping”.
Beneath, you may be able to plant directly into the soil. Forking over the soil and adding soil improver may be needed, to help with drainage and aeration. Don’t be too quick to assume that what’s beneath is just dirt that will struggle to support plant life. Digging out and replacing with fresh soil is always an option. However this can be a very heavy and expensive job, and not always necessary. If the soil beneath is very grey-blue, it’s a sign of low oxygen and waterlogging. Installing drainage is an option, but again, consider working with what you’ve got. There’s plenty of plants suited to poorly drained compacted soils.
Choosing plants
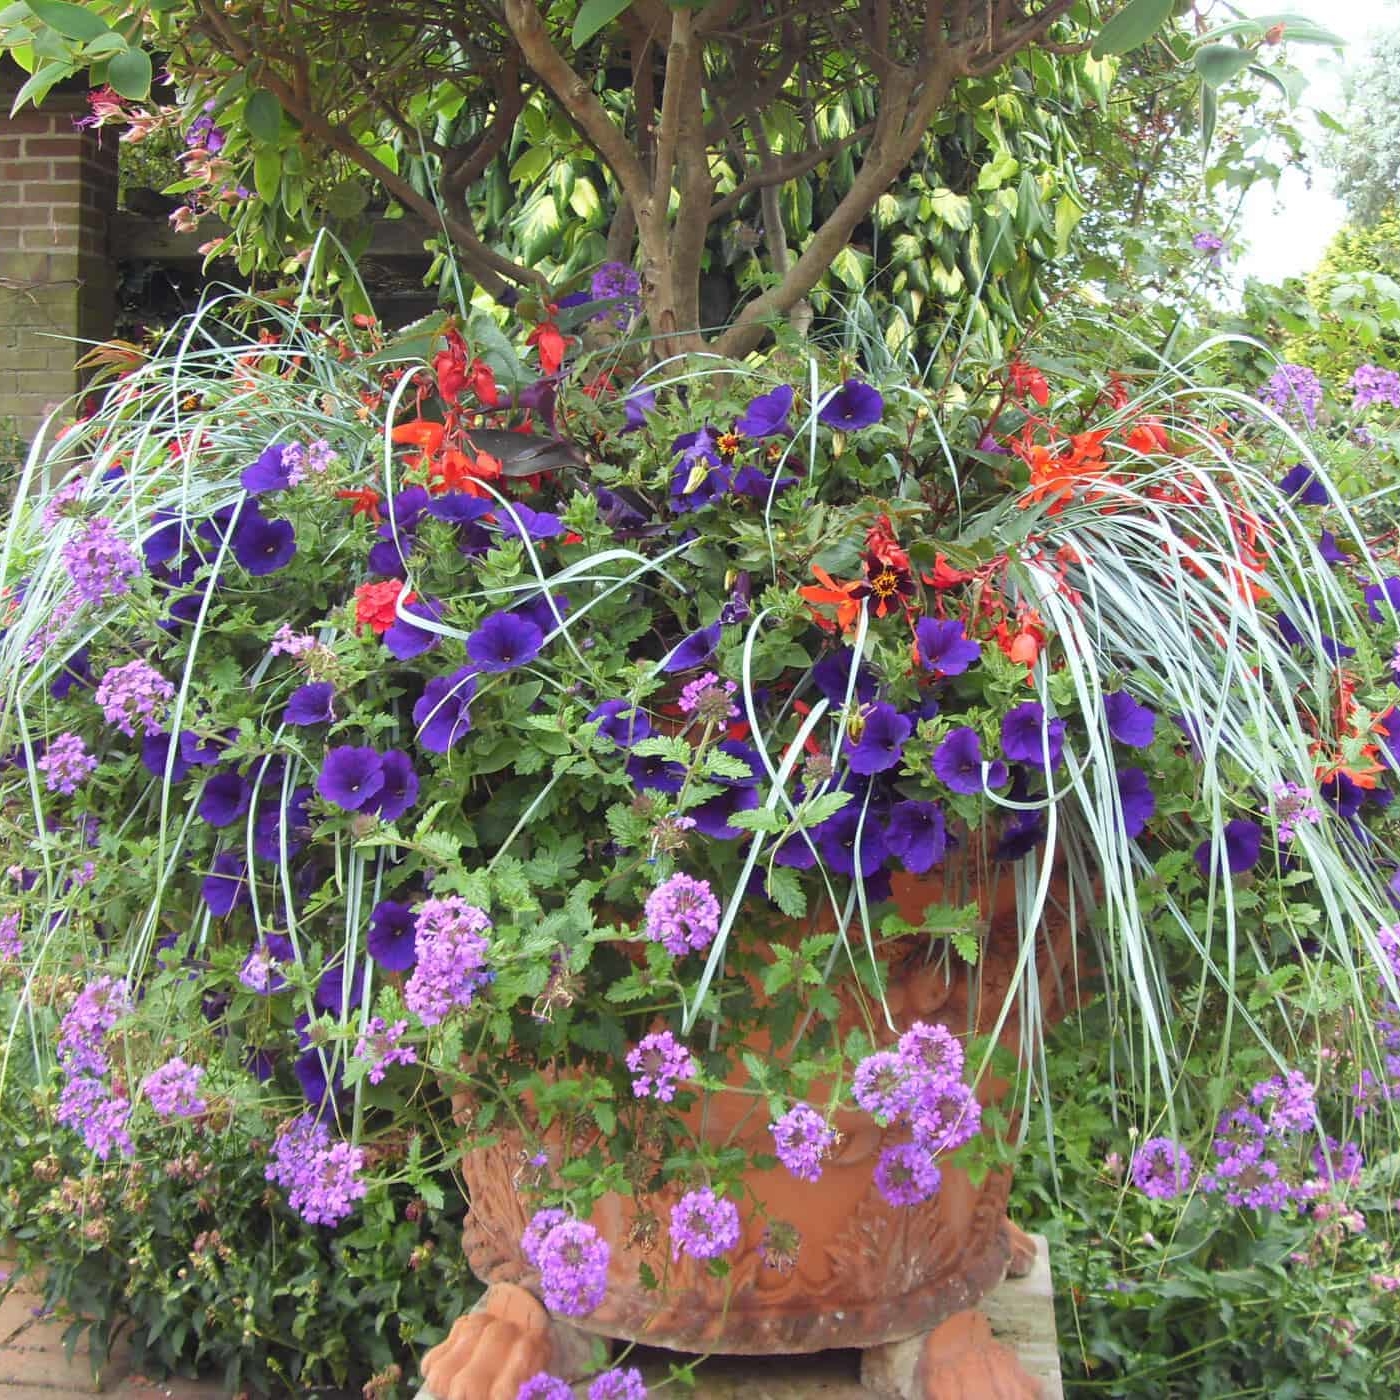
For ideas of what to plant, it really comes down to your preferences and what the environmental conditions are. You may be considering alpine and mediterranean plants for hardcore and gravel areas. Or, willows and roses which can grow in wet compacted clay soils. You may even be considering wetland plants if downpipes from roofs flow out onto the area. The conditions you’ll find may actually be broader than would normally be found in a typical garden. This gives you great possibilities for novel planting combinations. You will of course be restricted in what you can grow. Once you understand the conditions, start to build a pallet of plants that you like, and that like your spot. You’ll be onto something that is unique and grows in harmonious response to the landscape. Start small, see how you go. Enjoy the process.