Water running off dry soil? Why, and how to prevent it
 This spring’s intense dry spell has clearly revealed the differences between clay and sandy soils, and for some, brought to light the issue of hydrophobic soil.
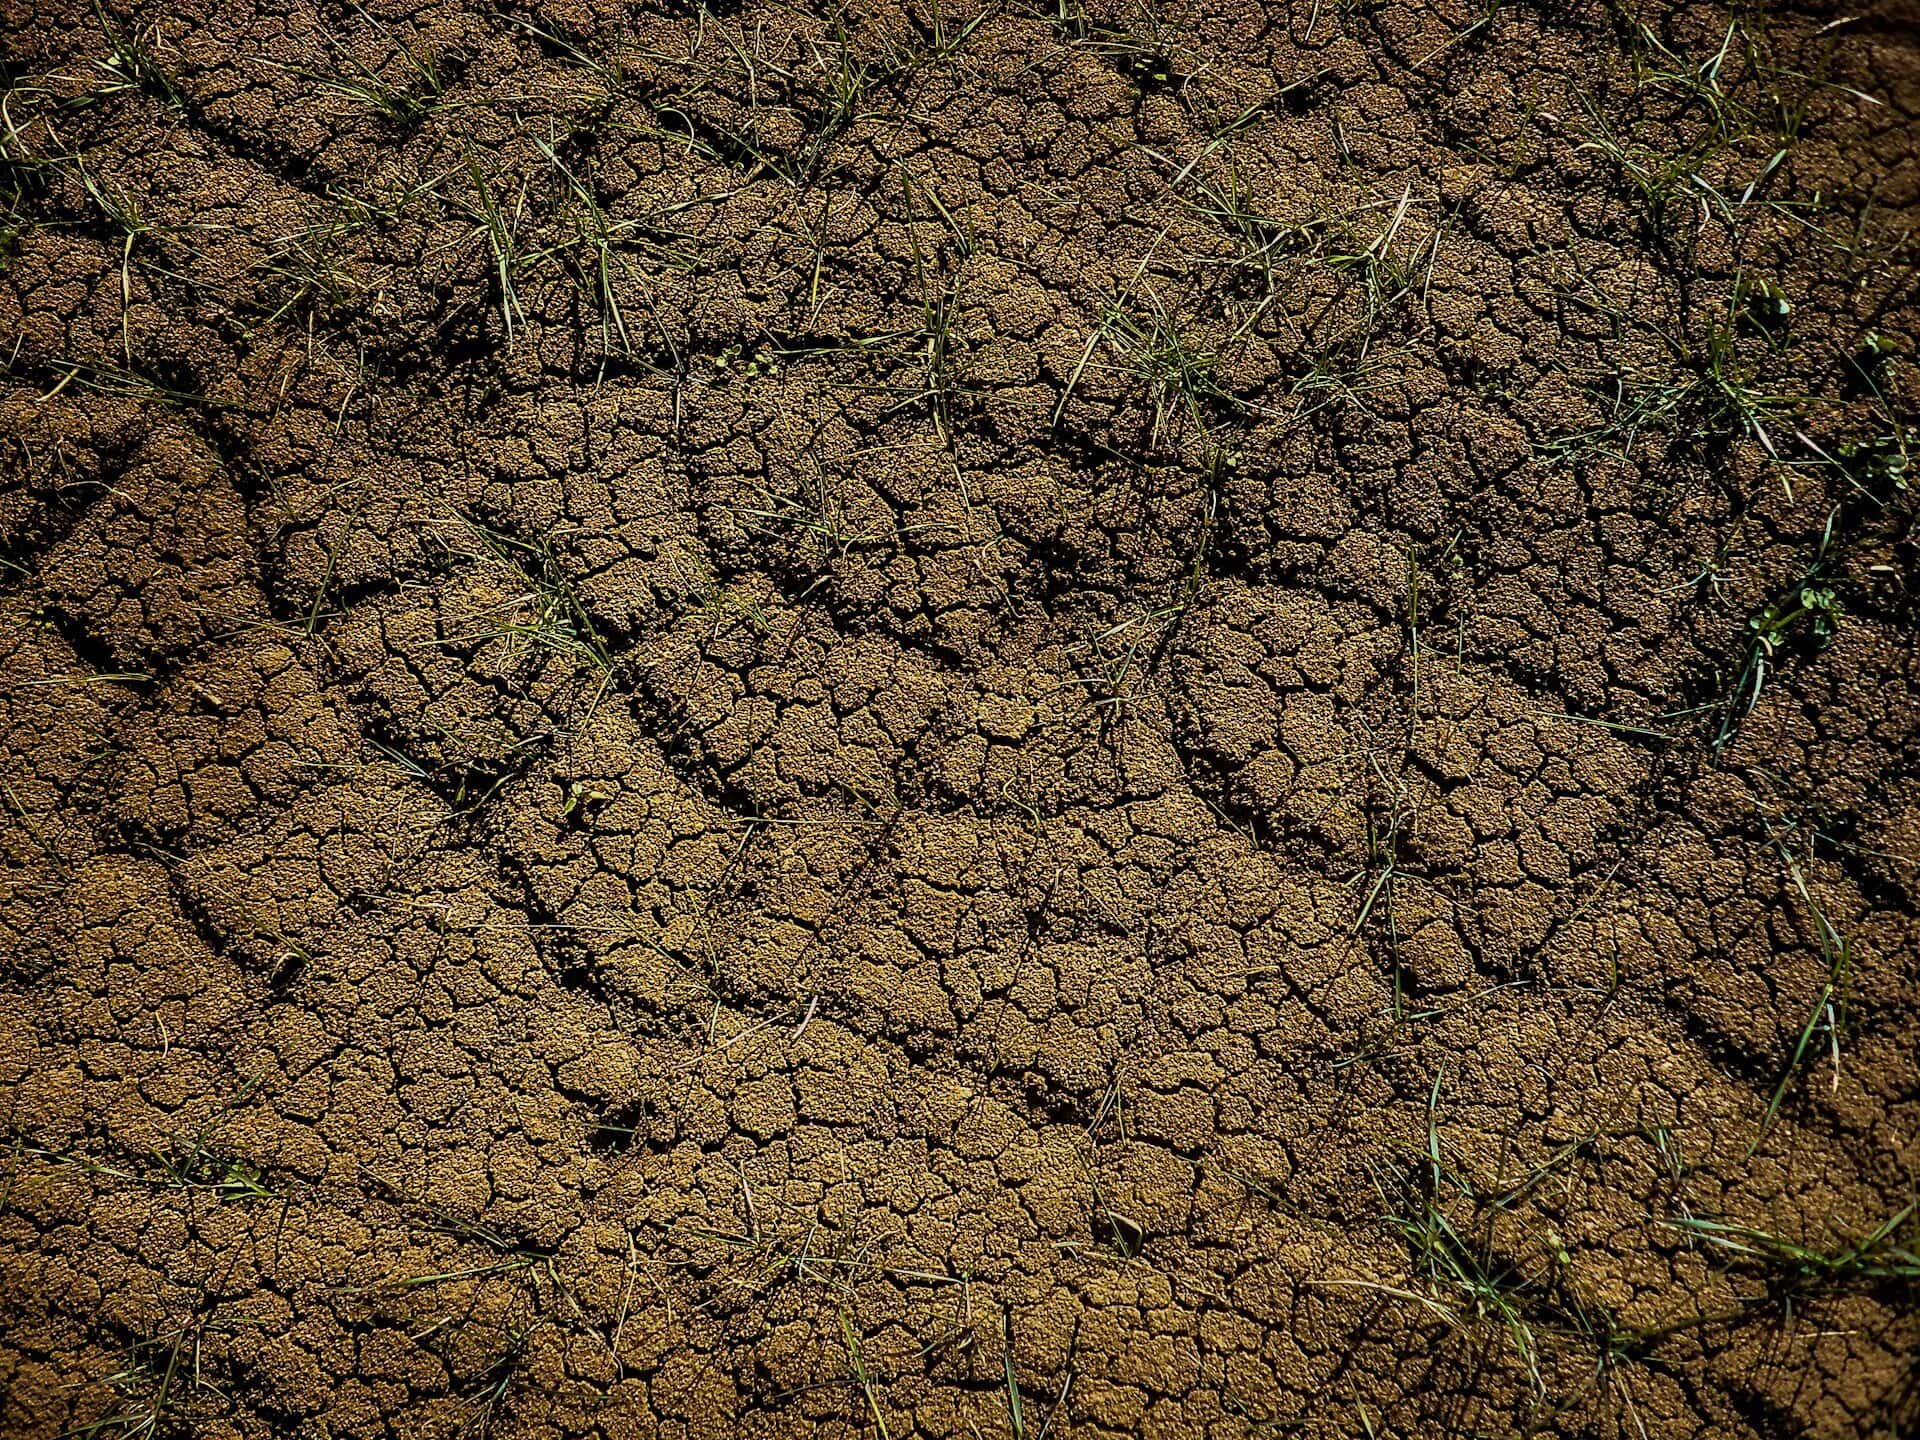
- Clay Soil: If your garden soil has developed deep cracks resembling a dried-up riverbed, you likely have clay soil. Made of incredibly fine particles, clay shrinks dramatically as it dries, becoming rock-hard and almost impenetrable. This can stress even established plants as their roots are squeezed. When rain does eventually arrive, it often pools on the surface because it struggles to penetrate the baked crust.
- Sandy Soil: If your soil feels light, gritty, and dusty, you’re dealing with sandy soil. Its large particles create significant air gaps, causing moisture to drain away almost instantly. Gardens with sandy soil were hit hardest and earliest this spring, with even drought-tolerant plants struggling and requiring constant watering as the ground became parched.
- Hydrophobic Soil: Some gardeners may have noticed a particularly puzzling problem: despite watering, the water doesn’t seem to soak in at all, but rather beads up and runs off the surface or sits in puddles for a long time before eventually evaporating. This is a sign of hydrophobic soil, also known as non-wetting soil. It often looks very dry, even dusty or greyish, and when you try to water it, it acts like a duck’s back. This phenomenon occurs when a waxy, water-repellent coating forms on individual soil particles, often due to the breakdown of organic matter in very dry conditions, especially in sandy or light soils. This coating prevents water from penetrating the soil, making it incredibly difficult for plants to access moisture even when watered.
Get Your Hands Dirty: Know Your Soil
You don’t need a laboratory to understand your soil type. A simple Jar Test can provide a clear picture of its composition, and hands-on observation will reveal hydrophobicity.
The Jar Test:
- Grab a clean, straight-sided jar with a lid.
- Fill it about one-third full with a soil sample taken a few inches below the surface.
- Top it up with water, leaving a little air at the top, and screw on the lid.
- Shake it vigorously for one minute.
- Leave it to settle for at least a few hours.
As the particles settle, they will form distinct layers based on their weight:
- Bottom Layer: Sand (the heaviest particles)
- Middle Layer: Silt (finer, silky particles)
- Top Layer: Clay (the finest particles, which may remain suspended for a long time)
The proportions of these layers will reveal your soil’s composition. An ideal soil, known as loam, has a balanced mix of all three, providing both good drainage and effective moisture retention.
Identifying Hydrophobic Soil in the Garden: Beyond the jar test, observe how water behaves when you irrigate. If water consistently beads up, forms puddles that don’t sink in, or runs off quickly, especially in dry patches, you likely have hydrophobic soil. You might even notice dry pockets under seemingly damp surface soil.
 The Universal Cure: Building a Drought-Proof Garden (and Tackling Hydrophobicity)
 The Universal Cure: Building a Drought-Proof Garden (and Tackling Hydrophobicity)
No matter if your soil cracks, turns to dust, or repels water, the most effective solution for improving its health and drought resilience is the addition of organic matter.
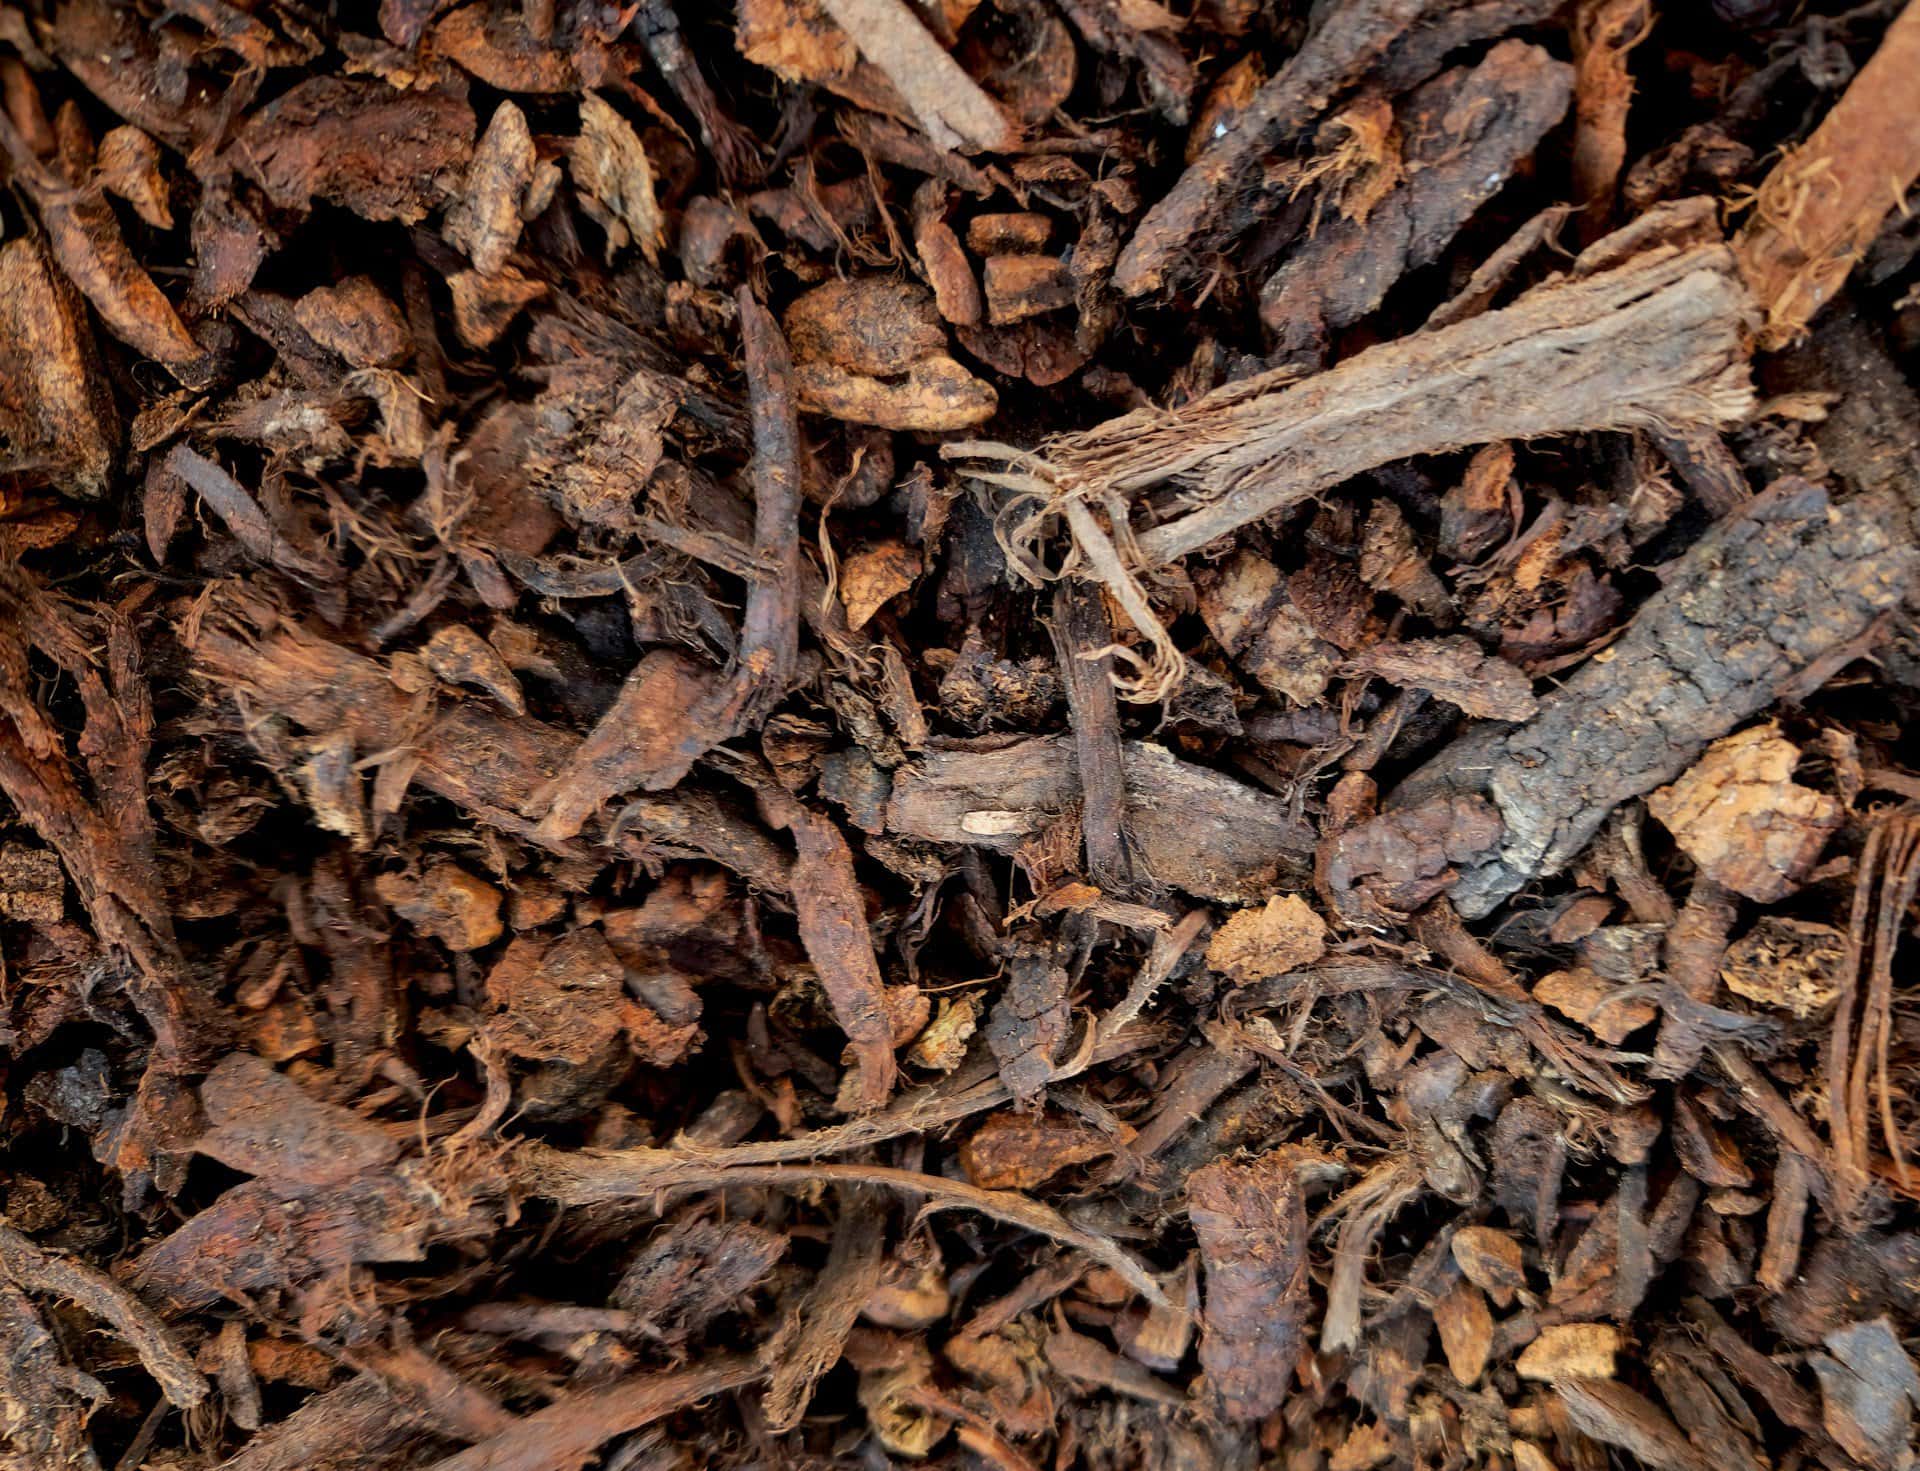
Adding materials like compost, well-rotted manure, or leaf mould works wonders on any soil type:
- For heavy clay: Organic matter forces the fine clay particles apart, creating air pockets that improve drainage and reduce cracking.
- For sandy soil: It acts like a sponge, holding onto precious water and nutrients that would otherwise quickly drain away.
- For hydrophobic soil: Organic matter helps to break down the waxy coatings on soil particles, improving water penetration. It also creates a more hospitable environment for beneficial microorganisms that can further alleviate the issue.
The easiest way to apply organic matter is as a mulch. Spread a generous layer, about 5-7 cm deep, over the surface of your garden beds this autumn. There’s no need to dig it in; worms and microorganisms will naturally incorporate it into the soil. This layer will also act as a protective blanket, shielding the soil from the sun and significantly reducing water evaporation during future dry spells.
 Specific Management for Hydrophobic Soil: In addition to general organic matter application:
- Wetting Agents: For severely hydrophobic patches, consider using a soil wetting agent (often found at garden centers). These are surfactants that reduce the surface tension of water, allowing it to penetrate the soil more effectively. This is a temporary fix but can help re-wet the soil so that other long-term improvements can take hold.
- Aeration: Gently aerating the affected areas with a garden fork can help break up the water-repellent layer and improve initial water penetration, especially before applying a wetting agent or organic matter.
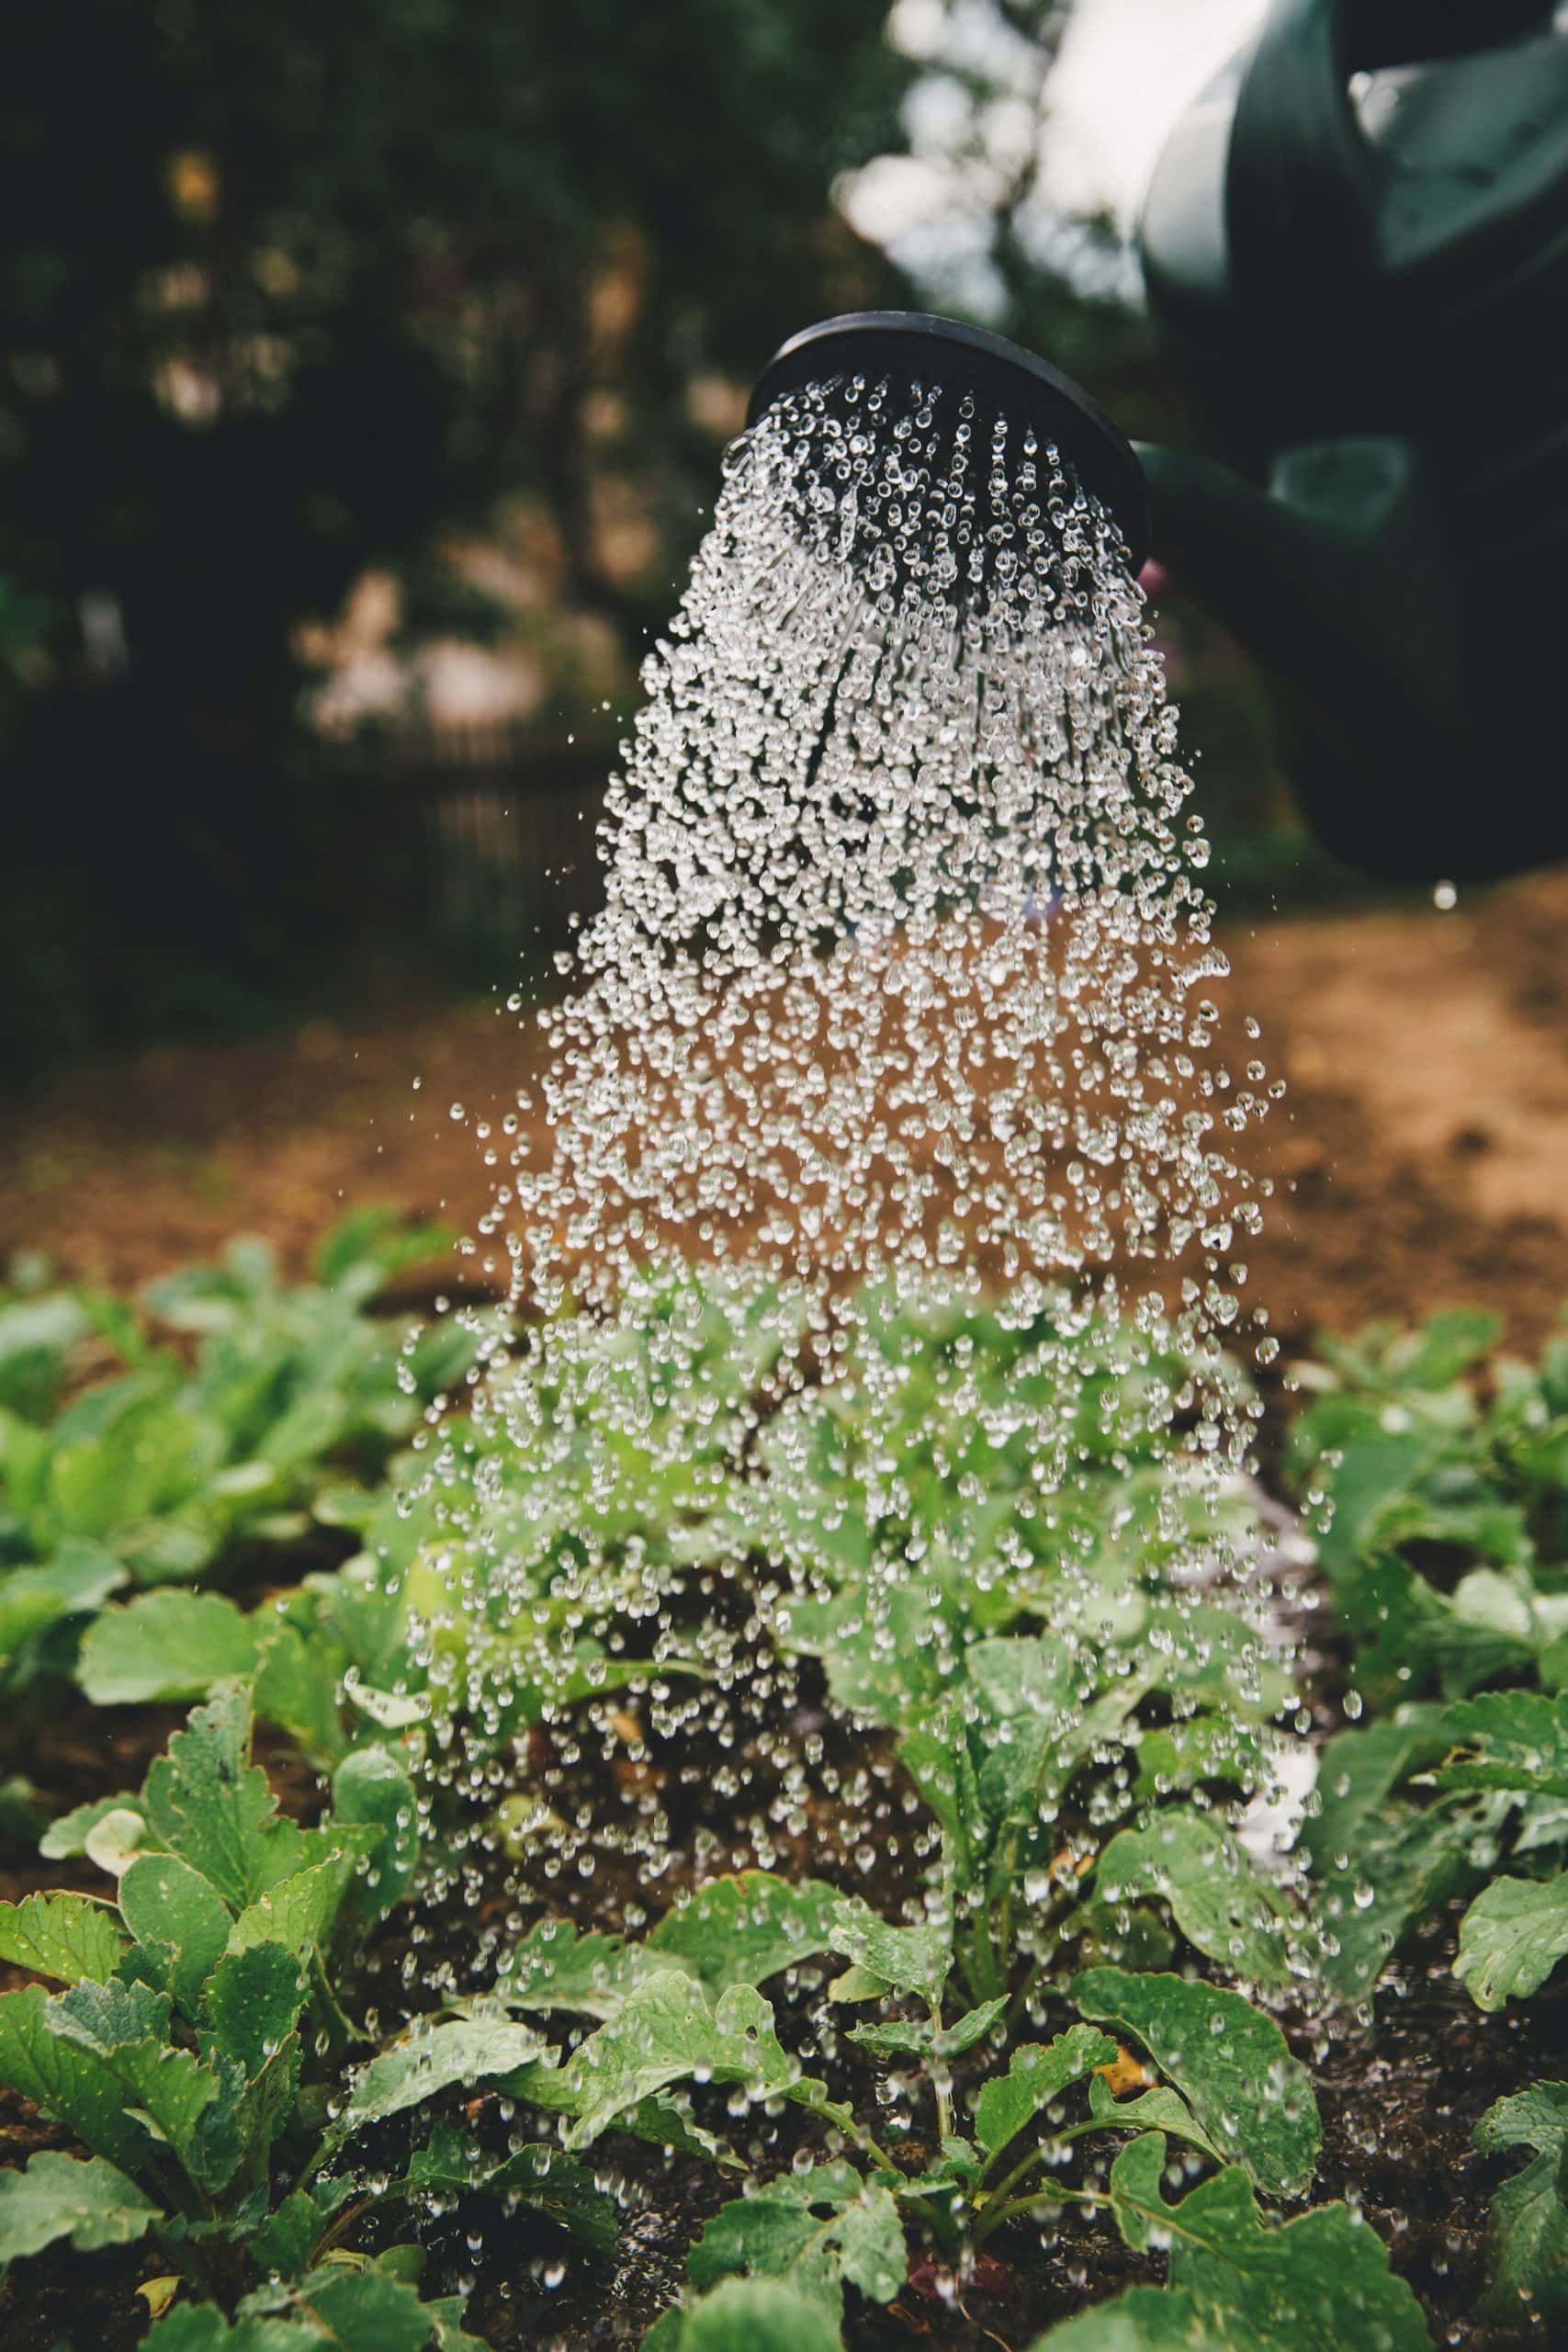
- Repeated, Slow Watering: Instead of one large application, water hydrophobic areas slowly and repeatedly, allowing small amounts of water to gradually soak in, rather than running off.
After a season like the spring of 2025, building healthier soil isn’t just a gardening task—it’s the best insurance policy you can have against future droughts, and it’s key to overcoming persistent issues like hydrophobicity.