The paving we are recommending for this area of your project is
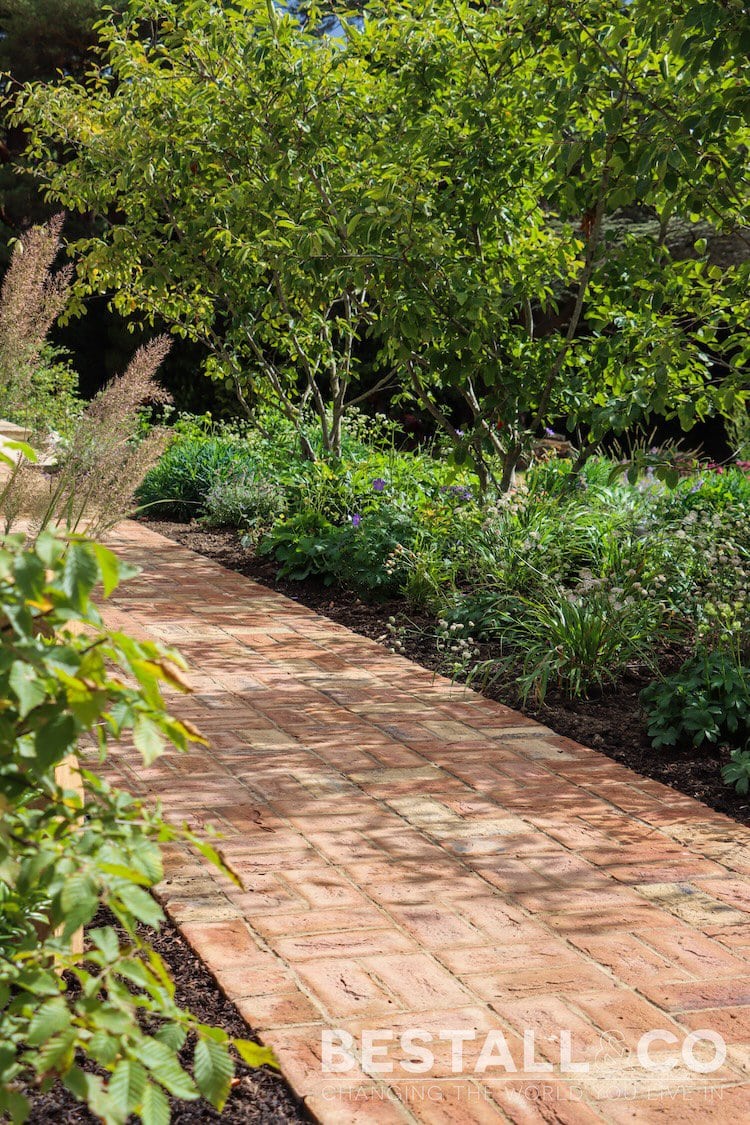
Cotswold Clay Paver

Price Band:

ColourCotswold | This textured clay paver has an antique finish and combines warm tones of red, brown and yellow, with hints of white, blue and black.
This warm and characterful clay paver has a textured finish and is ideal for paths, patios and residential driveways.
Ideal for period and heritage properties and for schemes with a timeless, classic style.
Please note that the colour of the pavers may vary due to the variances in clay products. The finish is an antique moulded/tumbled effect so the pavers may contain small chips from the manufacturing process.
Laying guidance
- Prepare consolidated sub base by excavating to correct depth before compacting to ensure a level surface. The pavers need to sit at least 150mm below a damp proof course. The sub base may also need a draining foundation where the groundwater level is within 500mm of the surface.
- Use MOT Type 1 compacted with a vibrating plate in <75mm layers that are built up until the required thickness of MOT is achieved. Total depth of compacted MOT Type 1 layer is 100mm for paths and 200mm for residential driveways on solid ground and with this laying method, however may need to be thicker to suit use and site conditions etc.
- The backs of the pavers MUST be primed with a premixed slurry primer such as Ultrascape ProPrime.
- Pavers (210 x 100 x 50mm) to be supplied and laid as per paving plan on a FULL BED of 50mm thick mortar with haunching up to half of depth and 15mm joints.
- Falls should be 1:60. Fit whole pavers first and work towards edge cuts last, taking correct safety precautions. Ensure pavers are level with a difference of less than 2mm between each (and never more than 7mm difference across the entire laid surface area overall to avoid pooling water or the surface becoming unstable). If working on a gradual slope, the manufacturer advises starting at the bottom and working upwards (see their advice for steep gradients).
- Check the surface is still level after installing and adjust where necessary to ensure less than 2mm difference between pavers, and never more than 7mm difference across the entire laid surface area overall (see above).
- Point with Smooth Flowpoint Natural Grey
NOTE: If the height of the paver is greater than the existing level, a concrete block can be used (see additional drawing above)
Additional Useful Information:
Paving Primer - installer to follow this link for technical data and safety data sheets before using
Flowpoint - installer to follow this link for technical data and safety data sheets before using
Aftercare | Do not pressure wash in first 6-8 weeks after installation. Pressure washing on a low setting can be used to keep pavers clean and free of algae, taking care not to affect jointing. In shady areas, suitable algae prevention may be required (avoiding acid based cleaners) - for detailed aftercare advice please refer to the product guide.
