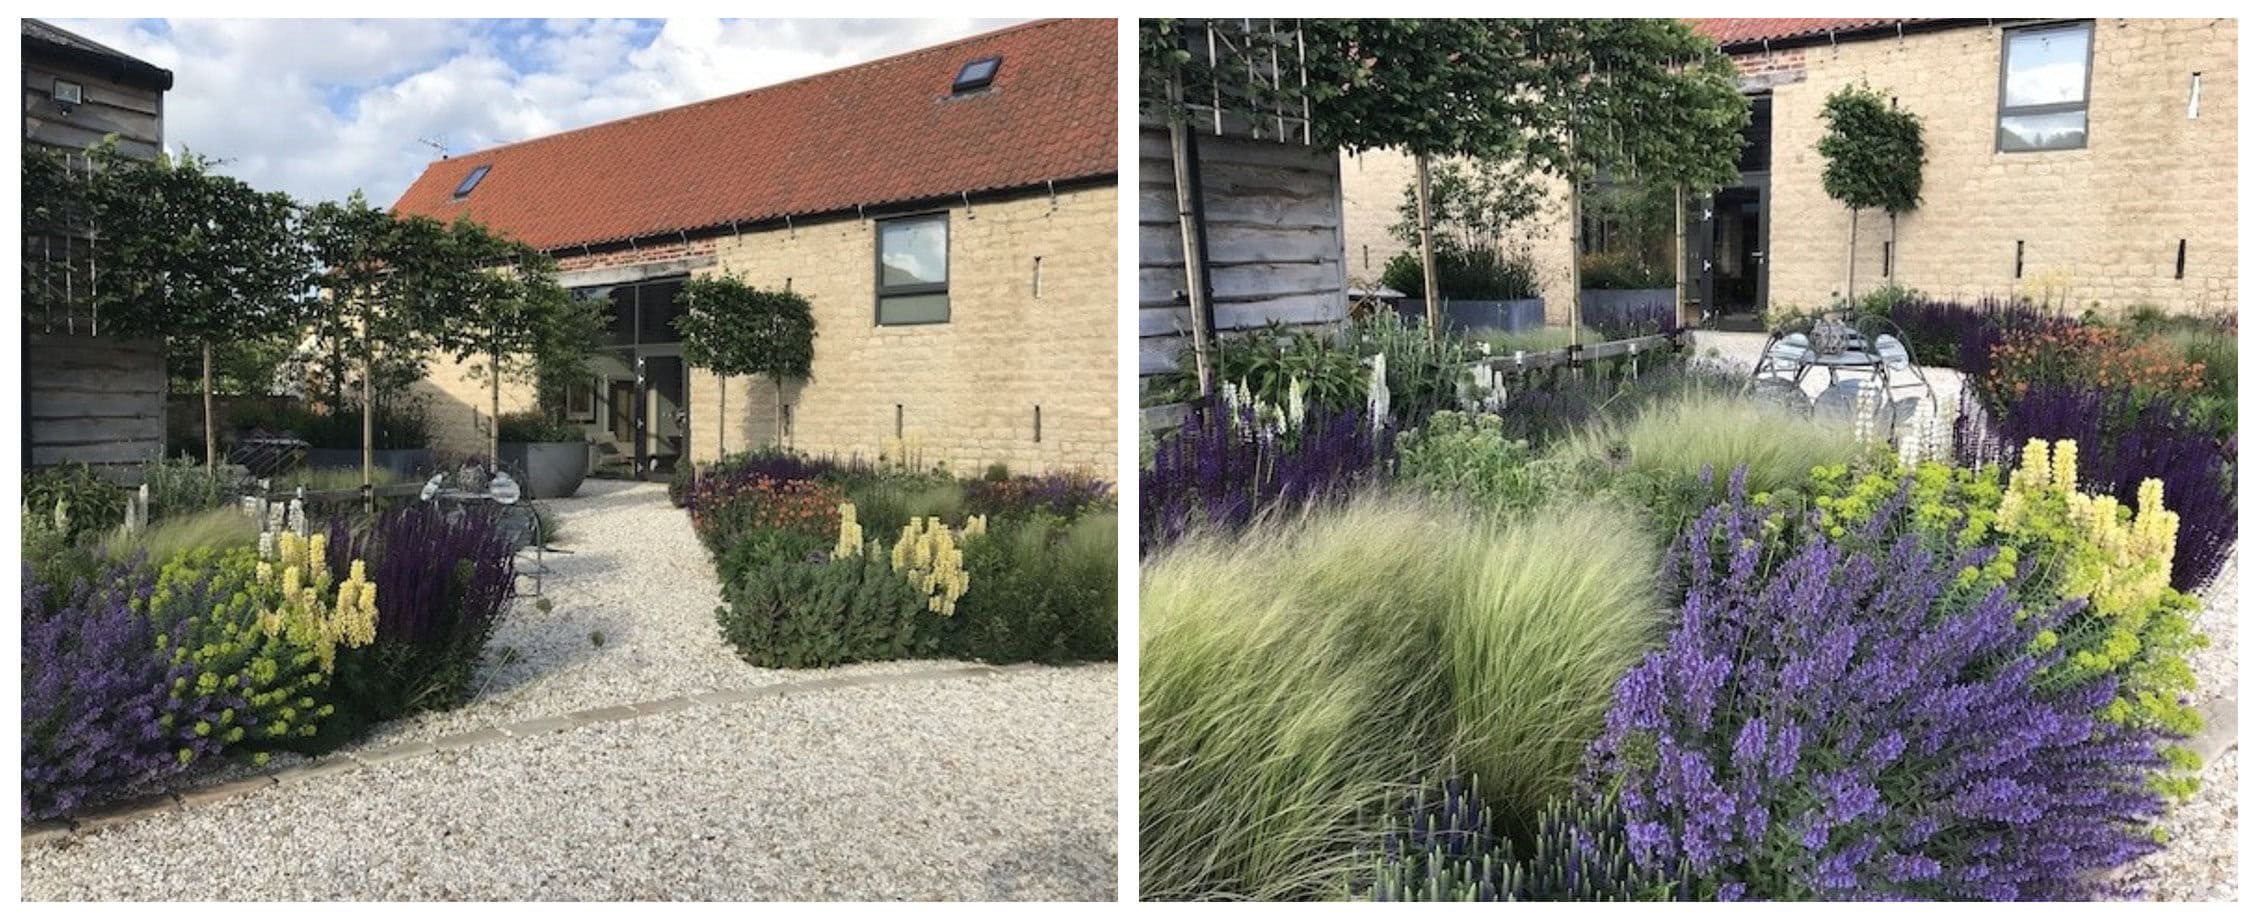
A planting border shouldn’t feel like a random assortment of plants, it should unfold with rhythm, structure, and seasonal charm. Because your designer has already vetted the plants for compatibility, you’re free to focus on the enjoyable part: selecting your favourites and placing them thoughtfully. What follows is a detailed, step-by-step process to help you confidently transform a list into a living composition.
Step-by-Step Guide to Designing Your Border
1. Start by reviewing the curated plant list
From the list of plants we’re suggesting would be suitable for this border, I’d suggest that you begin with website research of each and discounting any that you don’t like the look of.
You’re not assessing suitability here, as that’s already been handled. You’re simply confirming personal preference. If a plant doesn’t spark a flicker of excitement, let it go.
Hints & Tips
- Look at real garden photos, not nursery catalogue shots.
- Search the plant name alongside terms like “mature”, “in border”, or the season you care most about.
- Don’t feel obliged to keep every plant; well-edited borders always look more coherent.
2. Highlight your must-haves
From your narrowed-down list, identify the plants that absolutely must be included (your emotional favourites).
These often fall into categories such as:
- A standout shrub or perennial with excellent form
- A colour you adore
- A texture that balances or enhances the style of the space
- Plants with strong seasonal interest (blossom, seed heads, winter stems)
Hints & Tips
- Aim for 2–4 feature plants at most. Too many “stars” weaken the show.
- A favourite plant deserves a repeated presence, not a token single specimen.
3. Sort the chosen plants by height
Now take the plants you do like and group them into three height categories:
- Tall (back of the border): Typically 1.2m and above
- Mid-height (middle tier): Roughly 60–120cm
- Low-growing (front): Up to 40cm
This gives you a basic framework before you start positioning anything.
Hints & Tips
- If the border is seen from one direction, height tiers should slope from tall at the back to low at the front.
- If the border is viewed from all sides, consider a “tall in the centre, low around the edges” dome-like structure.
- Don’t be afraid of tall plants – they add drama, contrast and depth.
4. Allocate plants to positions based on function
With heights understood, place plants according to what they bring to the border.
Think about:
- Structure: Evergreens or shrubs often anchor the design at intervals.
- Seasonal highlights: Position spring joy where it’s seen from the kitchen; autumn fireworks where guests walk past; winter structure closer to the window.
- Focal points: Distinctive forms should sit where the eye naturally lands e.g. ends of borders, turning points, or opposite doors/windows.
Hints & Tips
- If something blooms for a fleeting moment, give it a supporting cast of plants that look good before and after.
- Avoid lining plants up by height like a botanical haircut – allow gentle rises and dips.
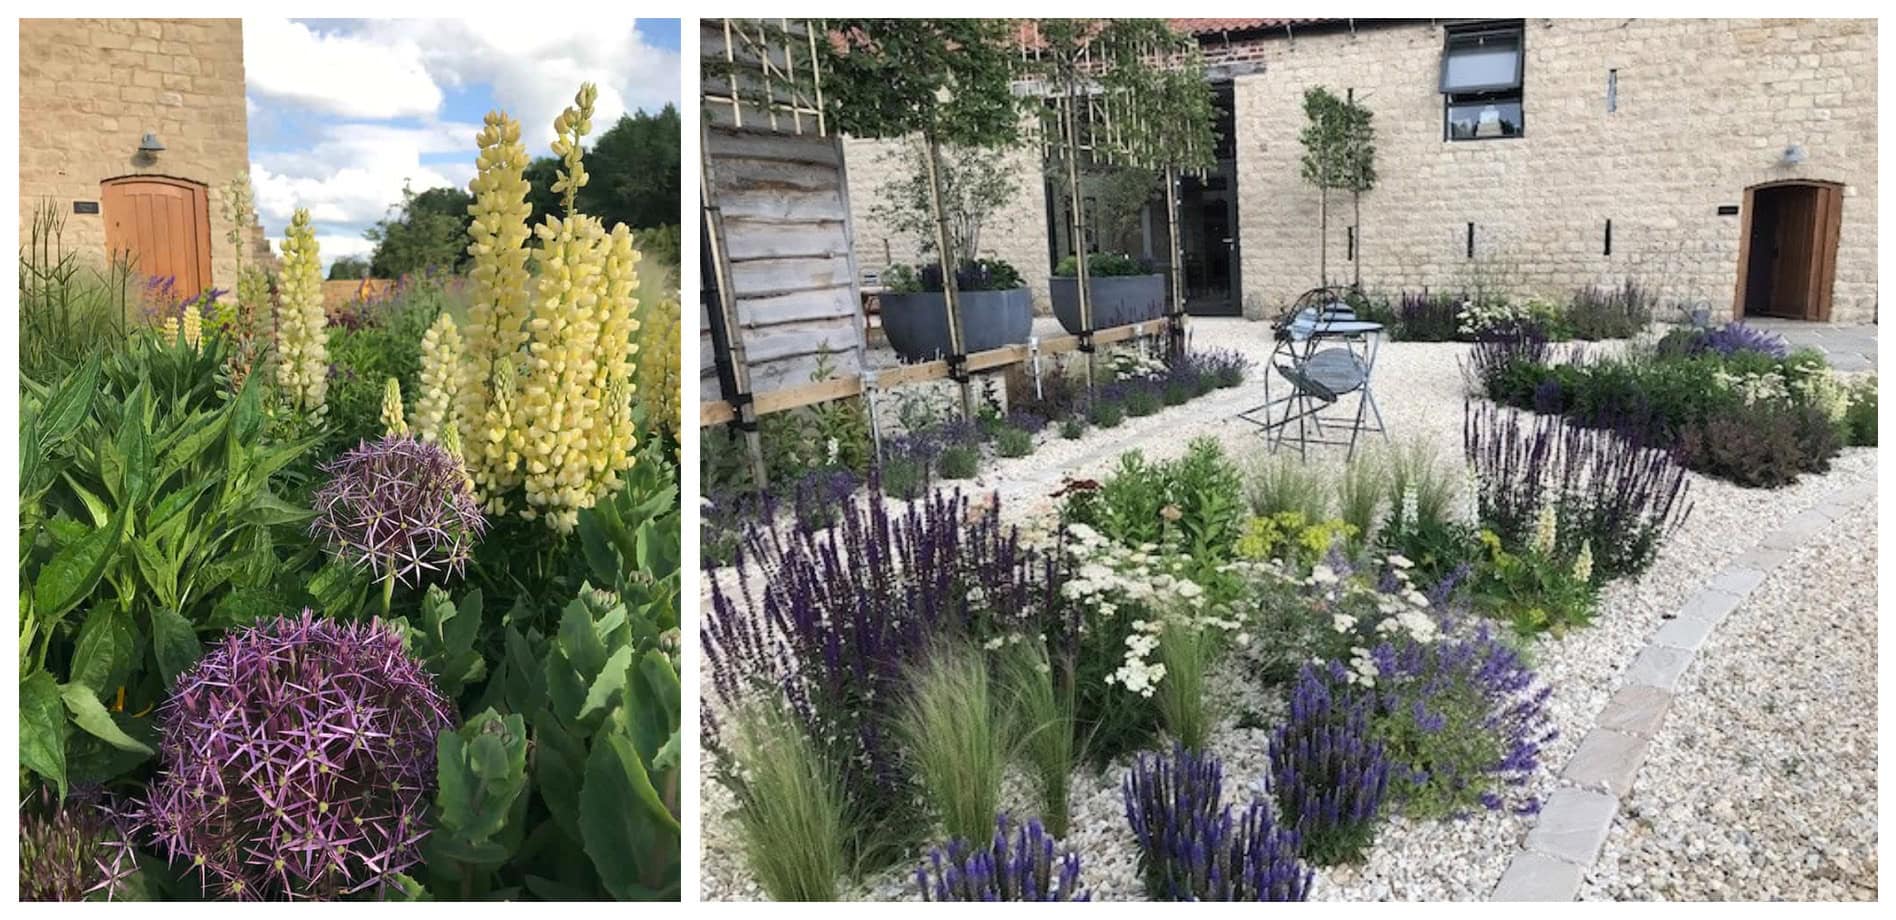
5. Introduce repetition for cohesion
Great borders rely on repetition; it’s the glue that holds everything together.
Ways to repeat:
- Use the same plant in groups of three or five.
- Echo colours across the border.
- Repeat textures — airy grasses, bold leaves, ferny foliage.
Hints & Tips
- You don’t need uniformity, just a rhythm. Think of the way a good song repeats sections without becoming monotonous.
- Odd numbers nearly always look more natural than even numbers.
6. Plan for year-round interest
Now that the backbone of the border is emerging, make sure you’ve not inadvertently created a “one-season wonder”.
Check your selections for:
- Spring structure (bulbs, early perennials)
- Summer abundance
- Autumn colour or seed heads
- Winter evergreen presence or silhouettes
Hints & Tips
- Seed heads are incredibly valuable – don’t shy away from plants that “age gracefully”.
- If something looks great for only two weeks, it must earn its place through form or foliage.
7. Final layout and spacing
Start placing your chosen plants on a drawn plan or directly on the soil in pots before planting. This helps you read the border as a whole.
Follow these spacing principles:
- Give each plant room to grow to its mature width.
- Allow taller plants breathing space so they don’t overshadow the front row too heavily.
- Mix upright forms with mounding forms and airy forms to create contrast.
Hints & Tips
- When in doubt, leave a little more space. Plants grow faster than you expect, gardens rarely stay looking sparse for long.
- Step back often – distance reveals balance more clearly than close inspection.
8. Add finishing touches
Once the main structure is in place:
- Consider interspersing bulbs for early colour.
- Add ground cover plants to unify the soil surface.
- Use a consistent mulch to make the border feel instantly refined.
Hints & Tips
- Mulch is the secret ingredient of professional-looking borders; it hides the mess and sharpens the design.
- Resist the urge to overfill. Borders gain charm as they mature, not on day one.
Closing Thoughts
Designing a planting border from a curated plant list is wonderfully freeing. You’re working with plants that are already suited to the space, so all your energy can go into expressing style, choosing favourites, and shaping the layout.
Trust your instincts, keep things simple, and prioritise repetition and structure. A beautiful border is never an accident – it’s the result of thoughtful editing and confident placement.