Expert tips on growing bearded iris
A few years ago I spoke to a commercial grower of bearded iris, who produces around 35,000 every year. They gave me some really good tips on their cultivation, that help keep consistent flowering even after lifting and dividing. I often notice bearded irises not doing so well in some gardens, with a lot of foliage fans failing to producing flowering stems. Based on the advice I’ve outlined below and experiments in my own garden, I suspect this often stems from them being cut back too hard or divided at the wrong time of year.
Planting
Bearded irises need a sunny position, on free draining soil. They are a classic dry garden plant, from the Mediterranean and Middle East. Do not add manure, compost or fertilisers – these plants thrive on poor soils. Common horticultural teaching says to plant with the rhizome exposed above the soil ‘so the rhizome can bake in the sun’. However, this often causes the plant to rock in the wind, compromising rooting and overall establishment of the plant. Instead, lightly cover the rhizome with about 1cm of soil and firm it in to anchor it. As it grows, new roots will hold it firm and the rhizome will grow to find it’s optimum depth on the soil. Provided the soil is very free draining, rhizomes can be mulched over without any issue, and can actually benefit the plants on very light soils.
Tidying up
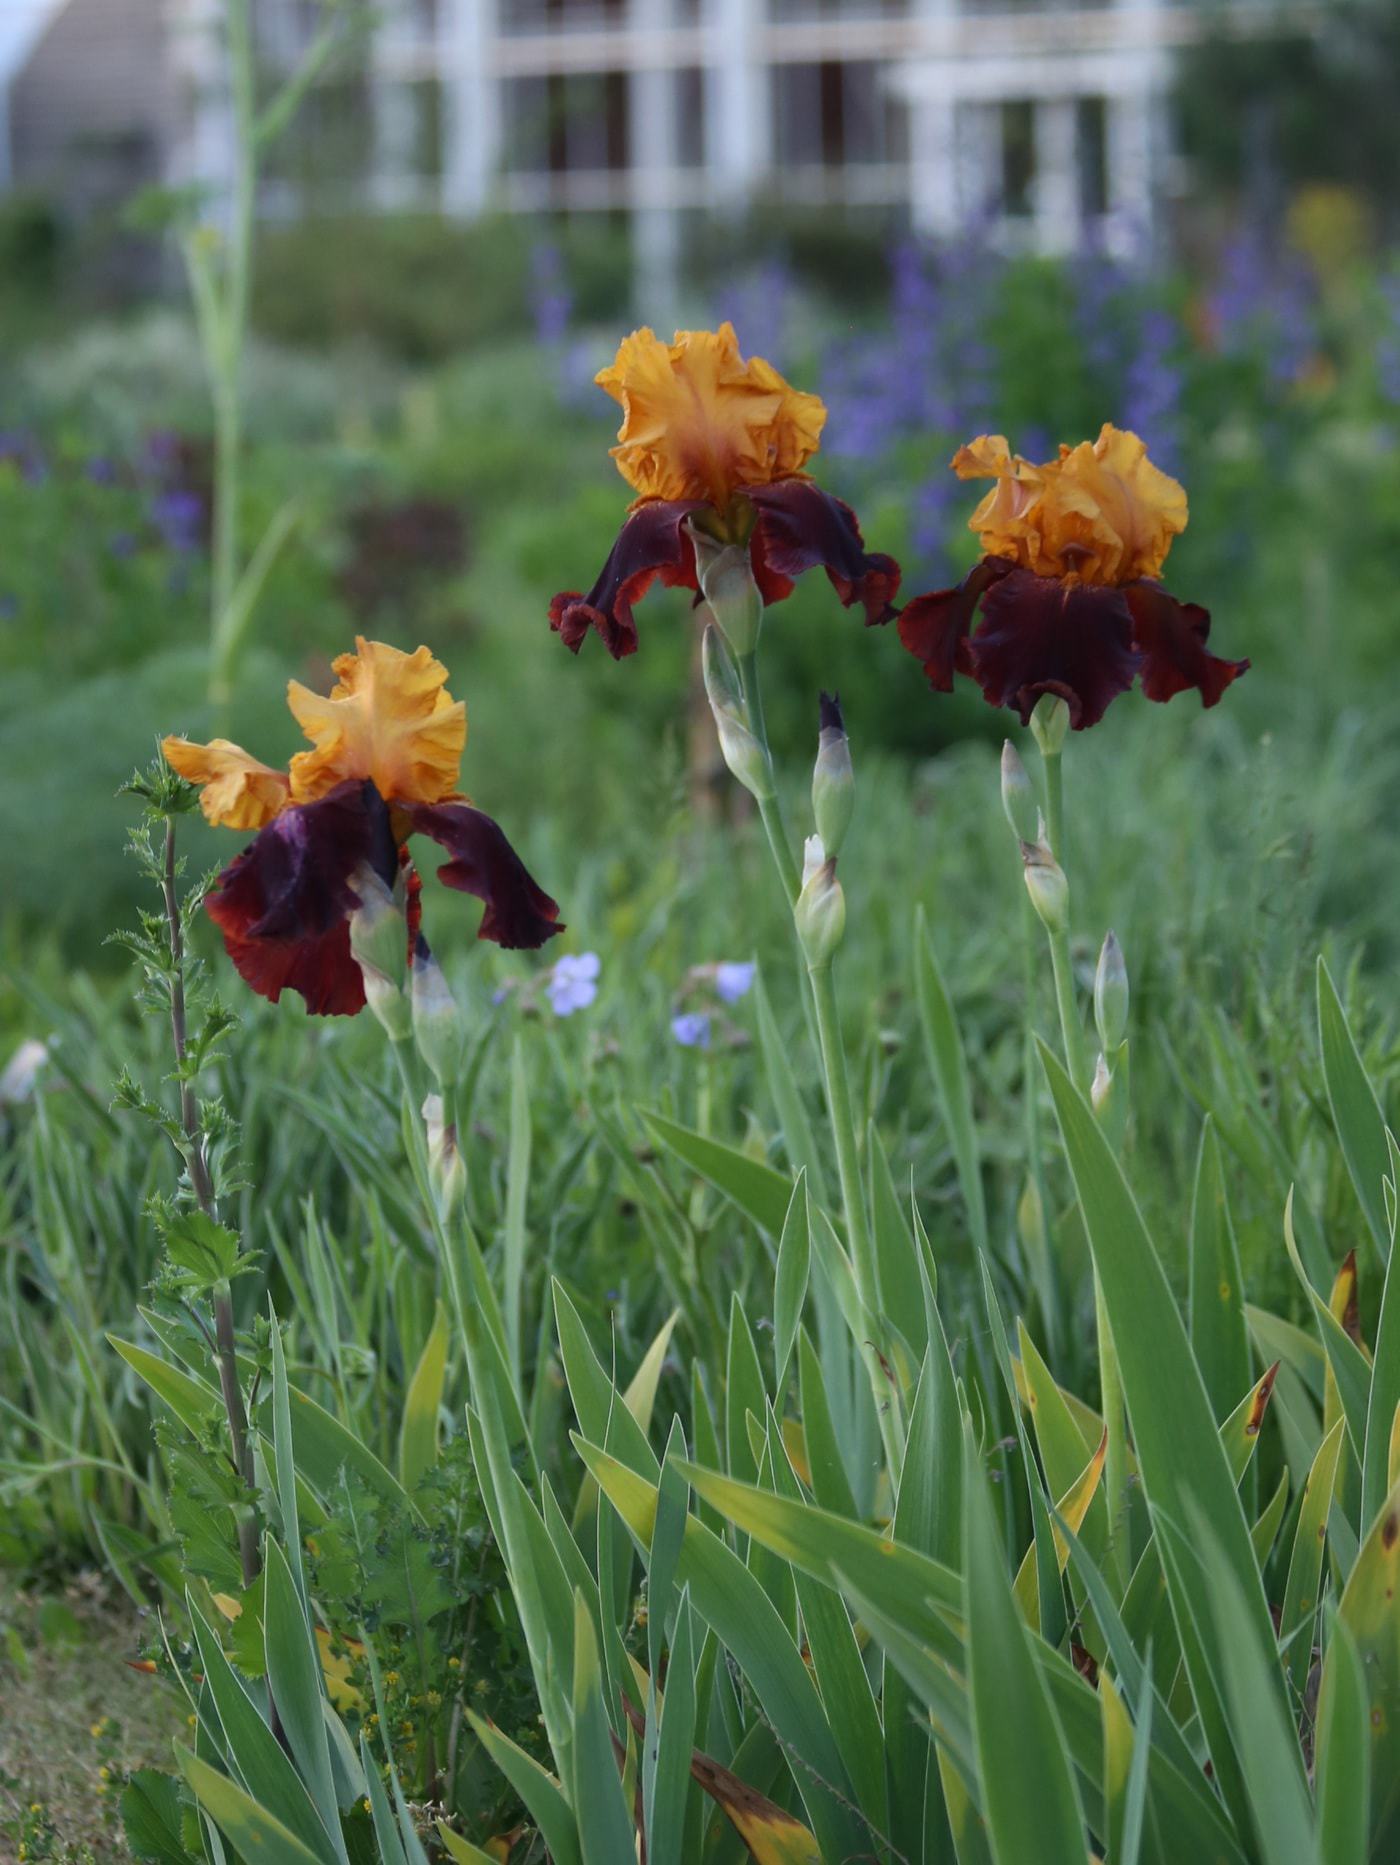
In autumn, winter or spring, there is a temptation to cut back bearded iris foliage to give it a general tidy up, as is standard practice for most herbaceous perennials. However, the next batch of flowers initiates deep inside the plant between late August and the end of the year. They need their leaves to produce the energy that goes into those developing flower buds within.
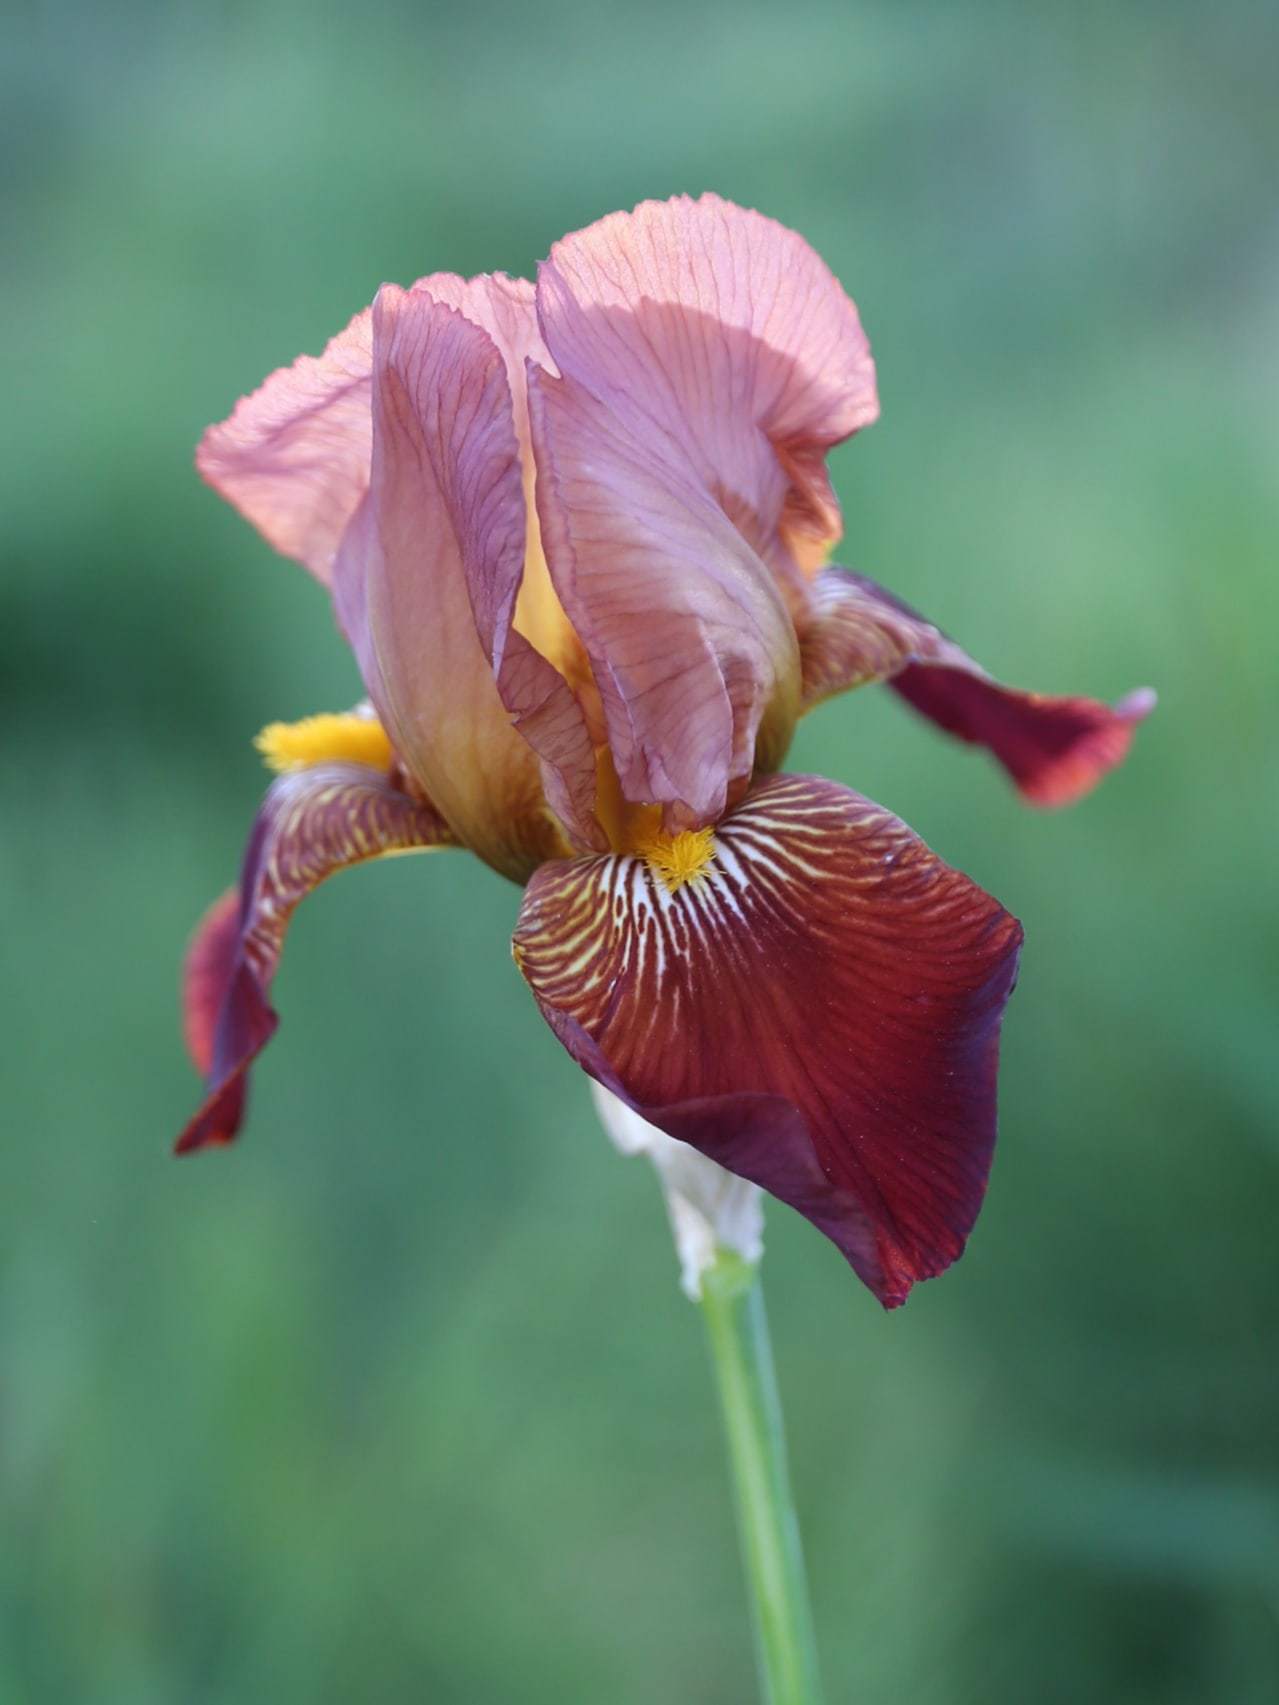
The new roots they produce in early autumn also need energy to grow. Instead of cutting back hard, dead or damaged leaves can be removed easily by gently tugging them away at an angle from the ‘fan’. If they are diseased with rust or leaf spots, cut back to clean growth and burn or bin the infected leaves, so you’re not spreading disease in your home compost. Do not be tempted to cut hard back right down to the rhizome.
Division
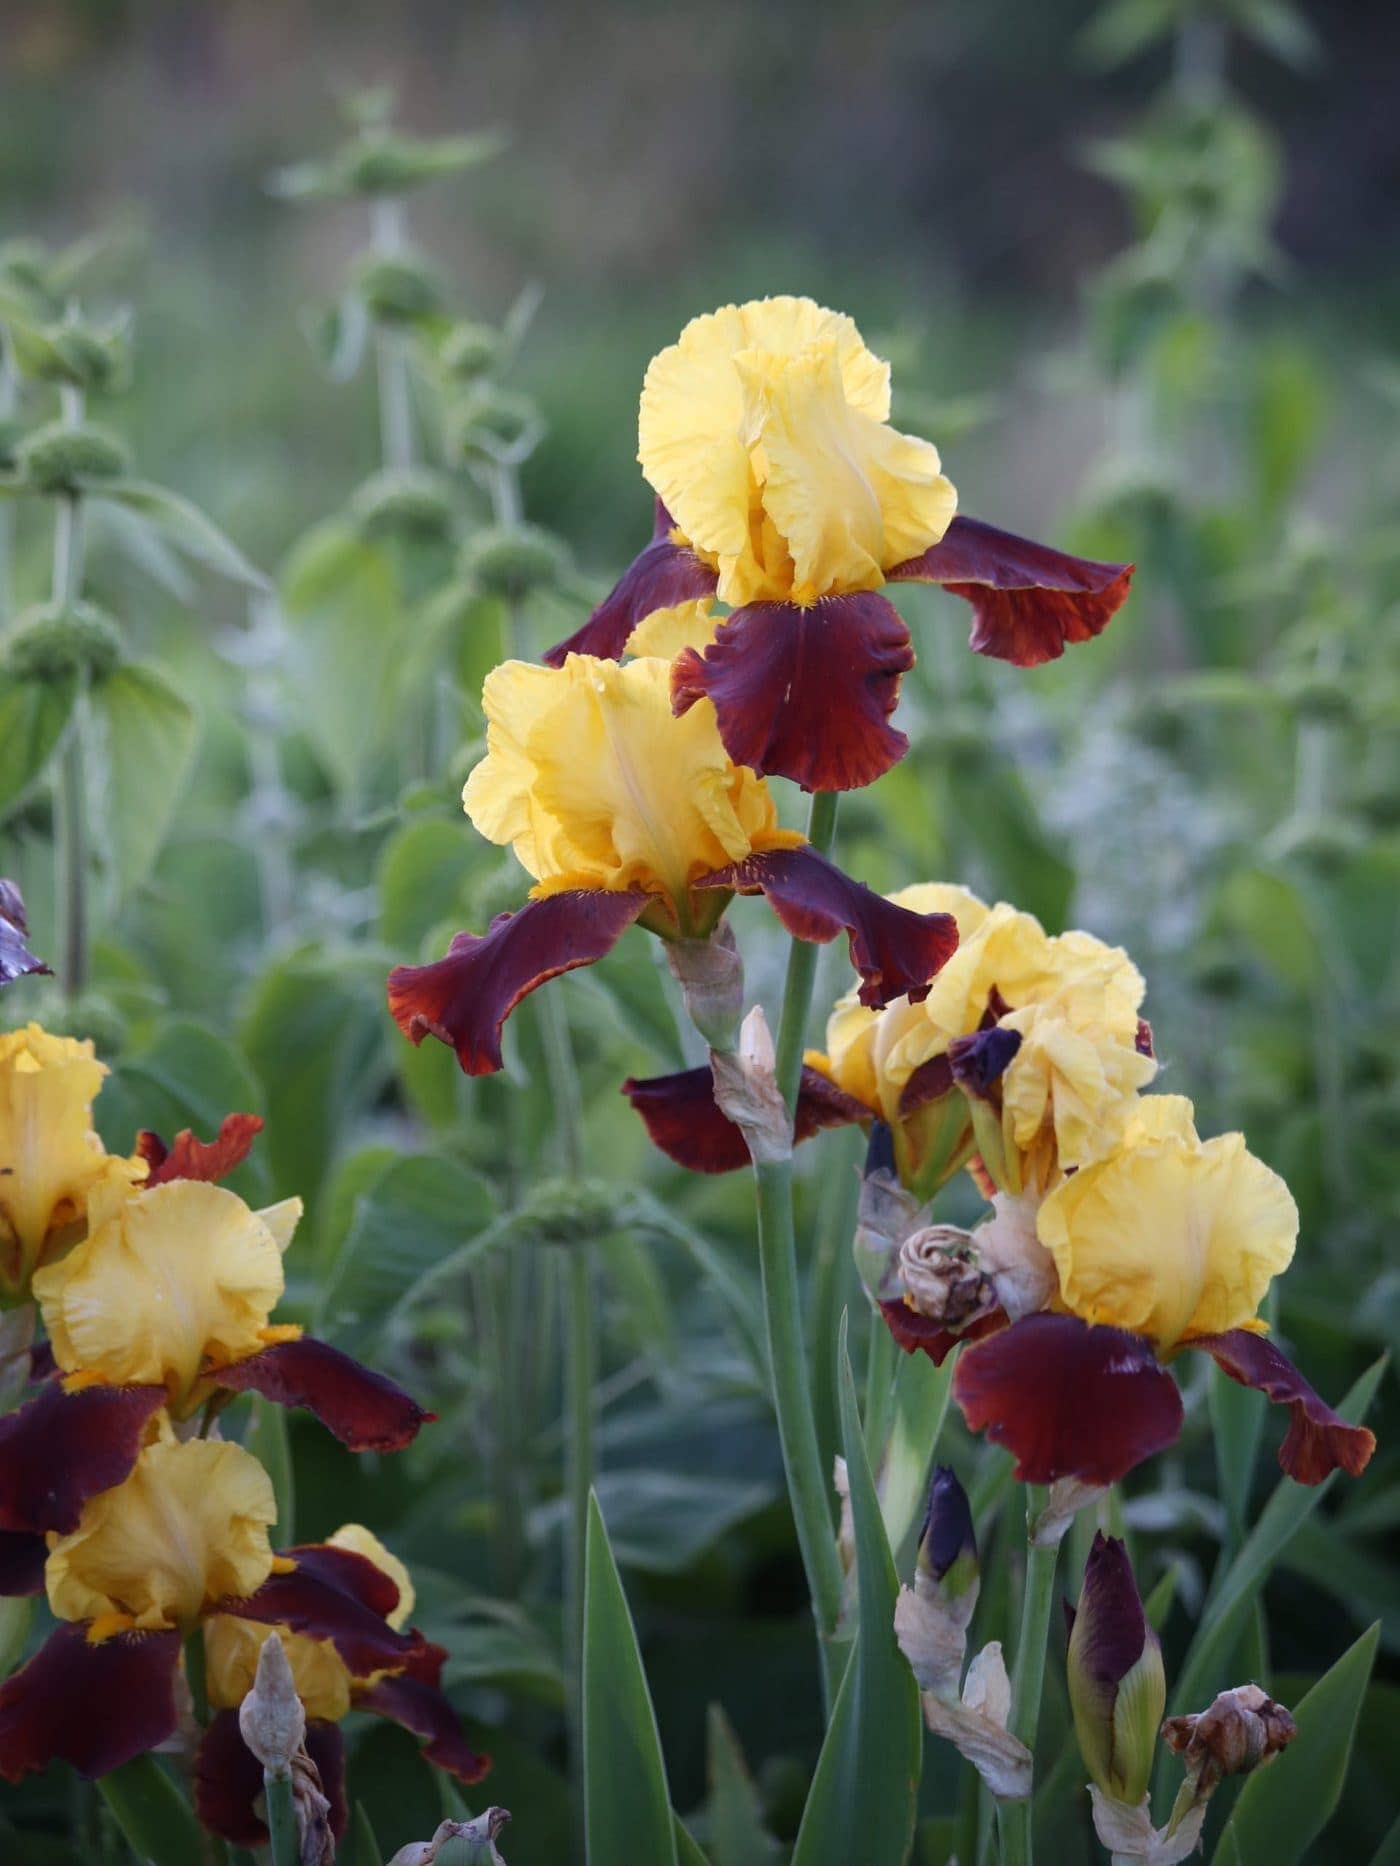
Bearded iris perform best if divided every 3 years, at least. Division can be done at any time of year provided they are not in flower, but they will sometimes fail to flower in the following spring. To minimise this risk, divide them between the end of flowering and the end of August, or mid-September at the absolute latest. New leaves will soon grow as part of the initiation of the flowering stem, and the early autumn burst of root growth will quickly establish the plant.
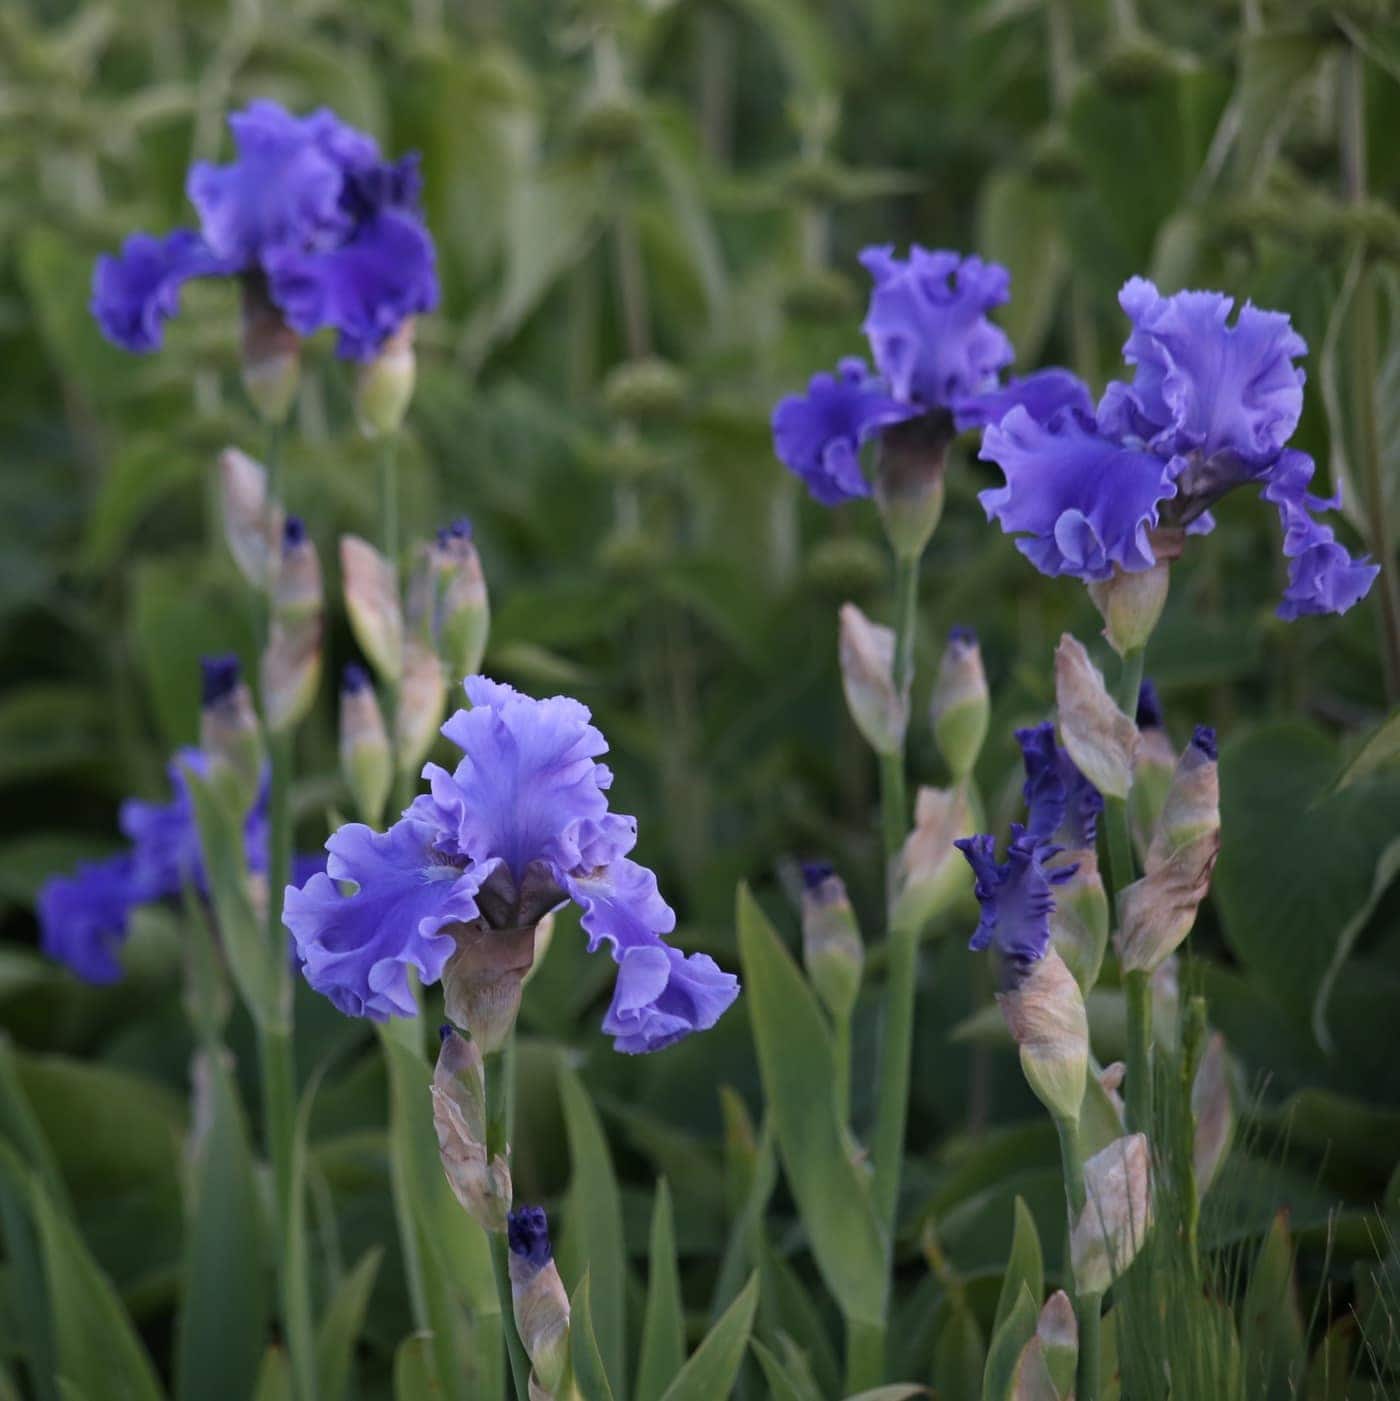
Division is the only time a bearded iris should be cut back, unless to remove diseased leaves. They can be cut to about a hand’s length to reduce the risk of damaging the developing flowers and allowing some photosynthesis to continue. Now is a good time to check for Erwinia (bacterial soft rot) in the rhizomes. This is usually a sign they are too wet, overfed or have been damaged (typically by slugs or accidentally hitting them with a hoe). You will generally smell soft rot before you see it – it stinks. Lift infected rhizomes, cut out infected parts and allow the plant to dry for a few hours before replanting. Sterilise tools afterwards. Plant as noted above.
Feeding
While bearded iris should not be fed with fertilisers or mulches high in nitrogen or phosphorus, I have found they really benefit from being given a small amount of sulphate of potash once or twice in autumn. This is basically just potassium, the nutrient most important in flower production. While on a naturally rich soil this may be of little benefit, on low nutrient soils I have found this added boost made for a jaw dropping display as the plant is getting the right nutrient at the right time.
Where to buy bearded irises
There are thousands of varieties available. Specialist iris nurseries are the best places to buy, but almost any nursery will stock a few varieties of this classic garden plant. They can often be bough bare root, a traditional and environmentally friendly way to buy plants.
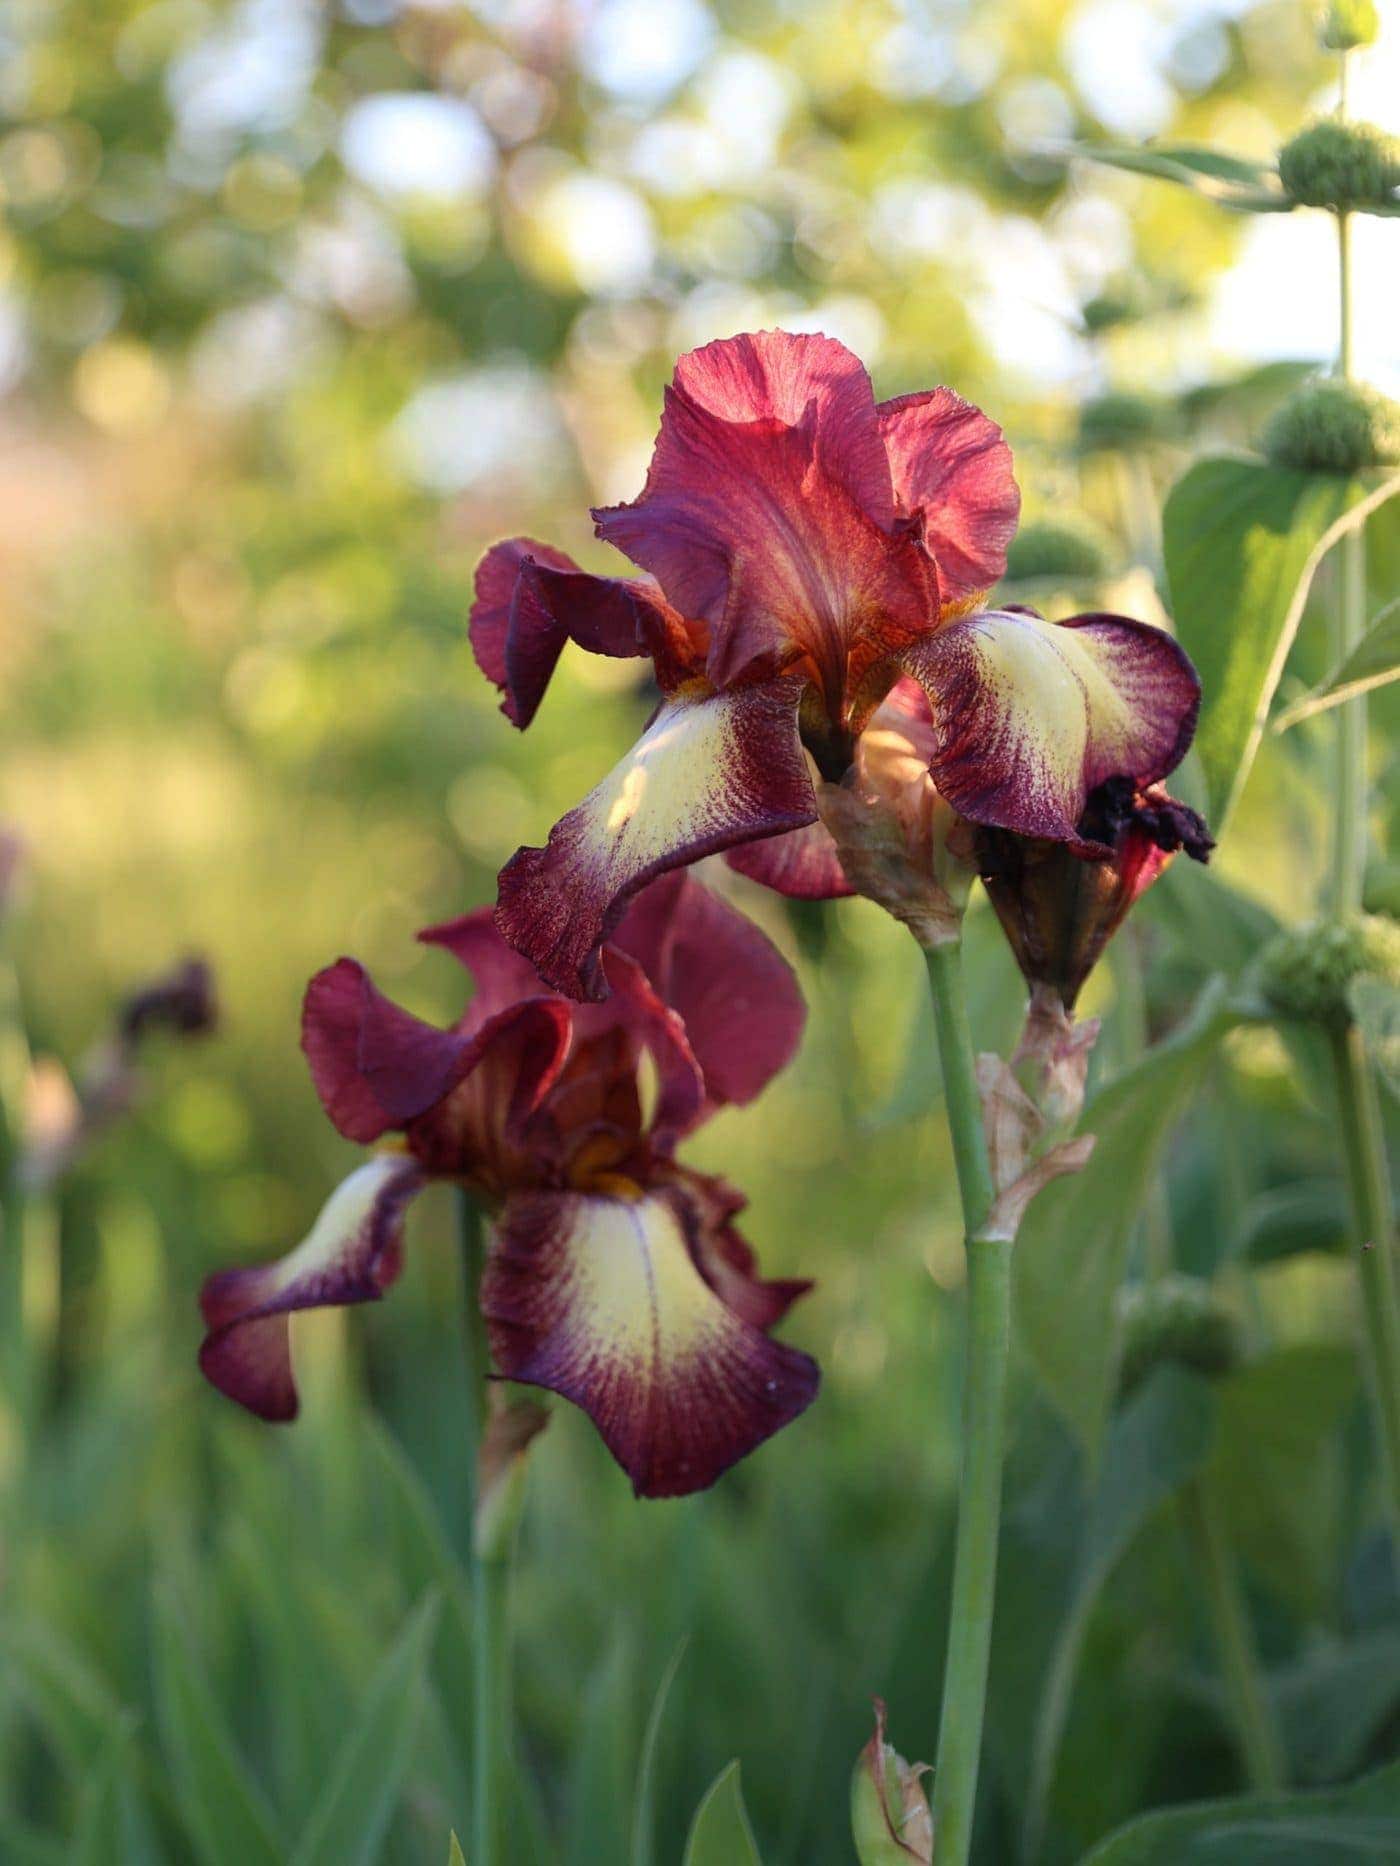
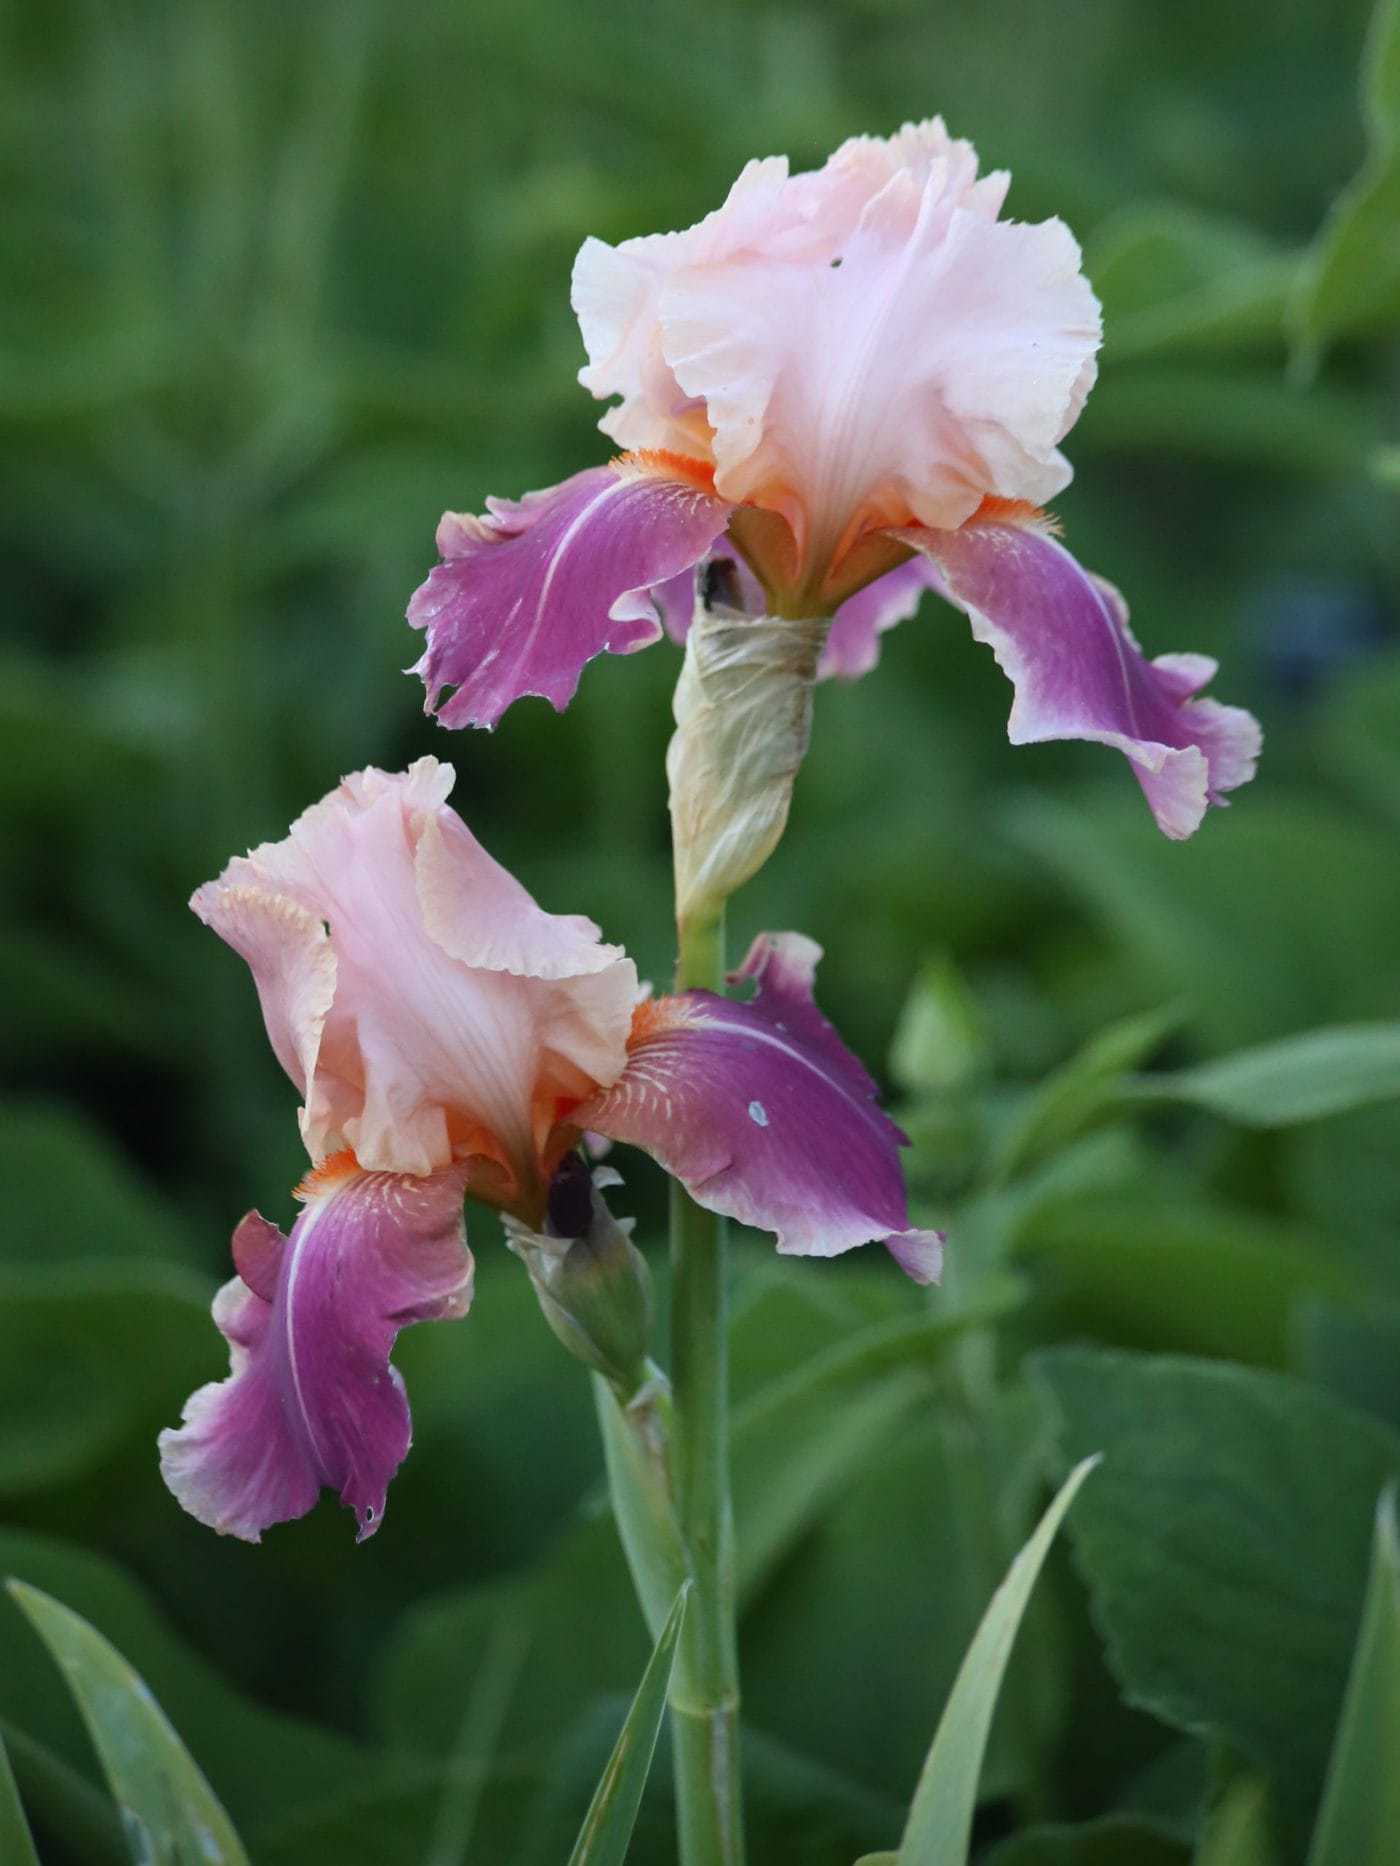
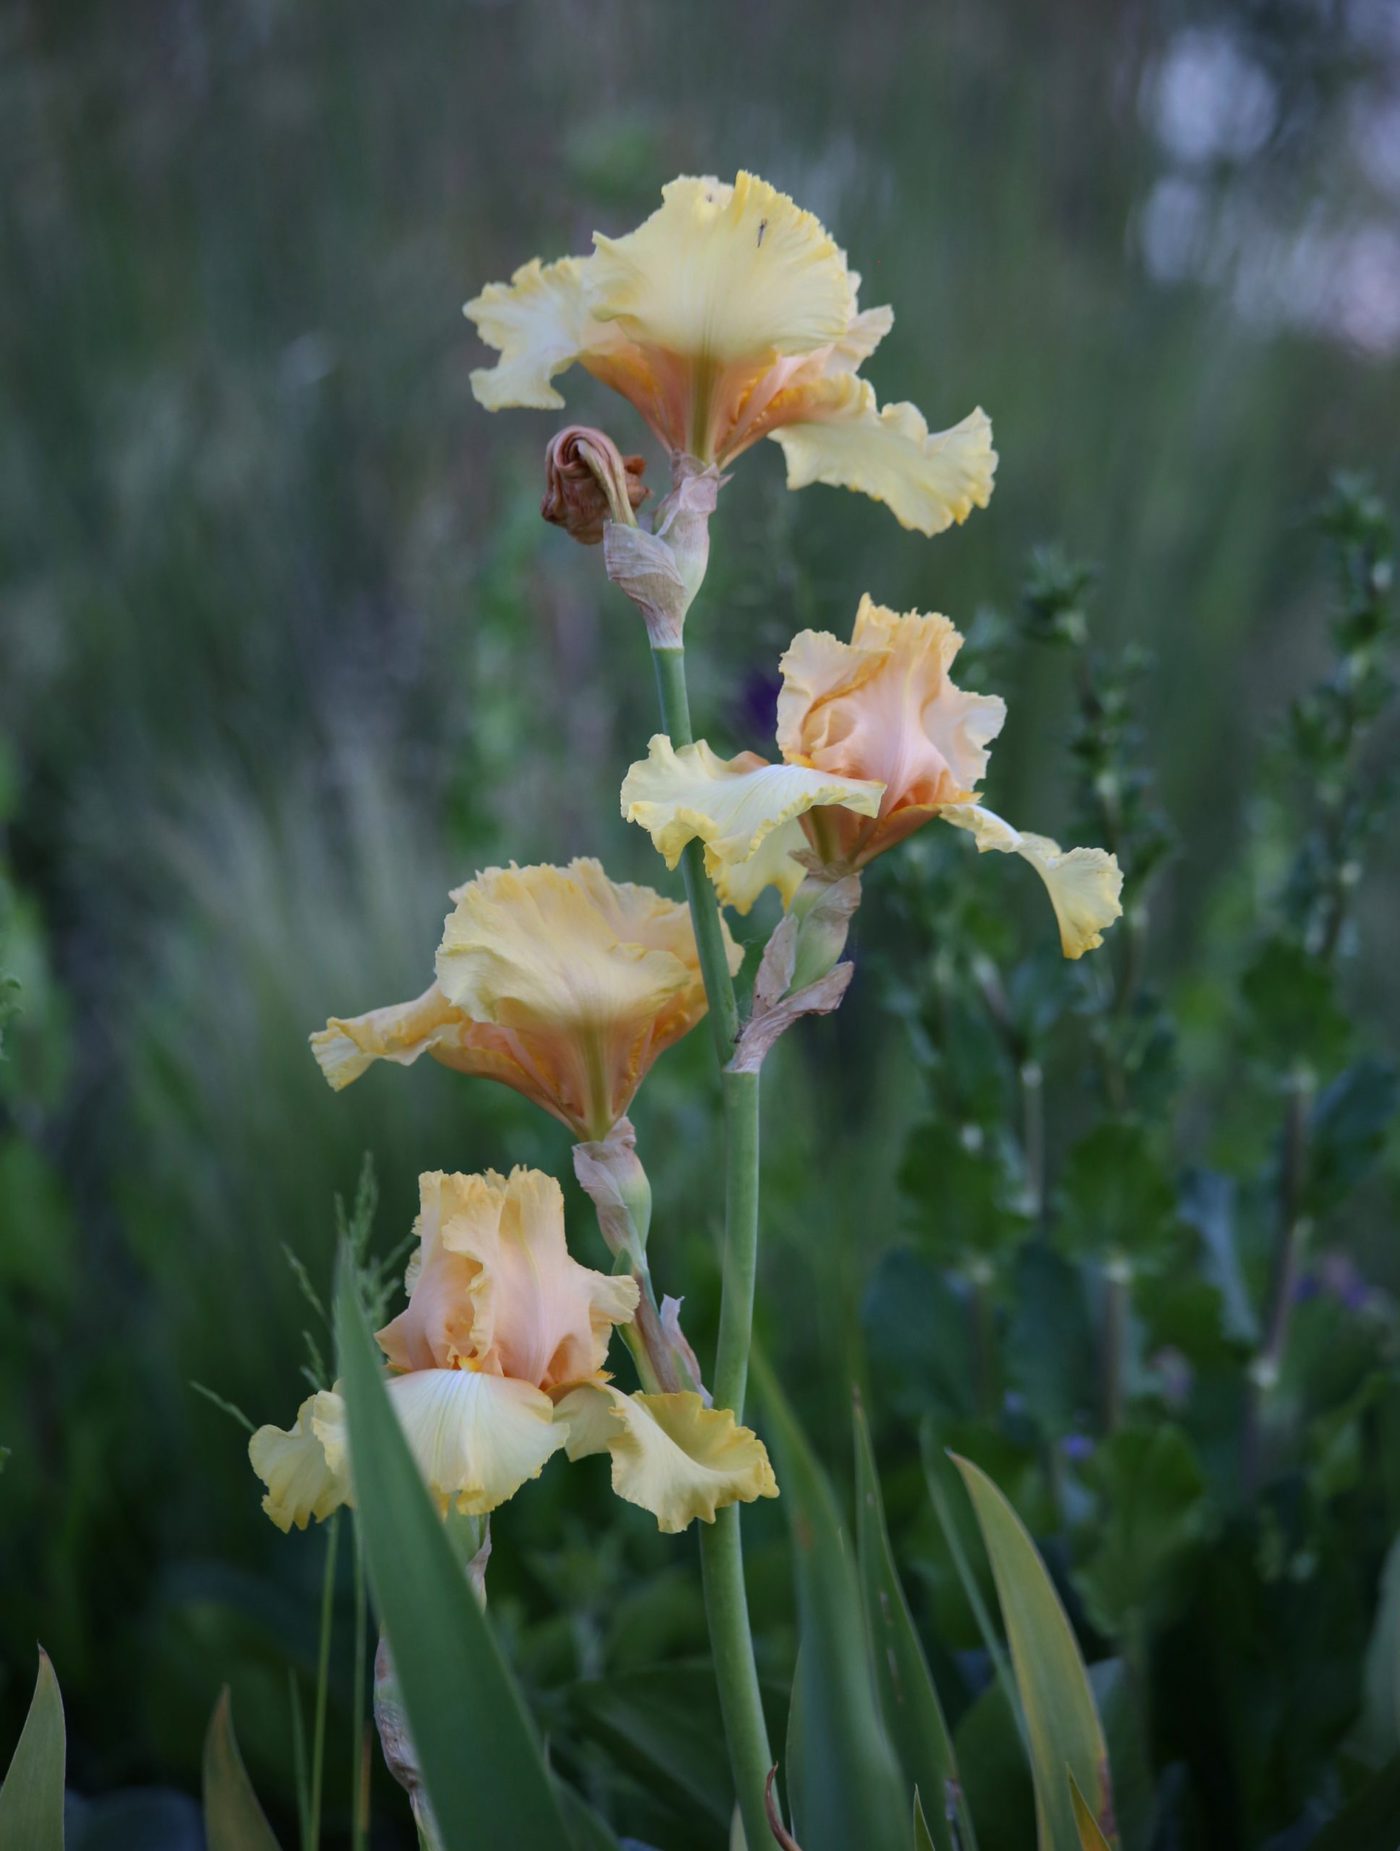
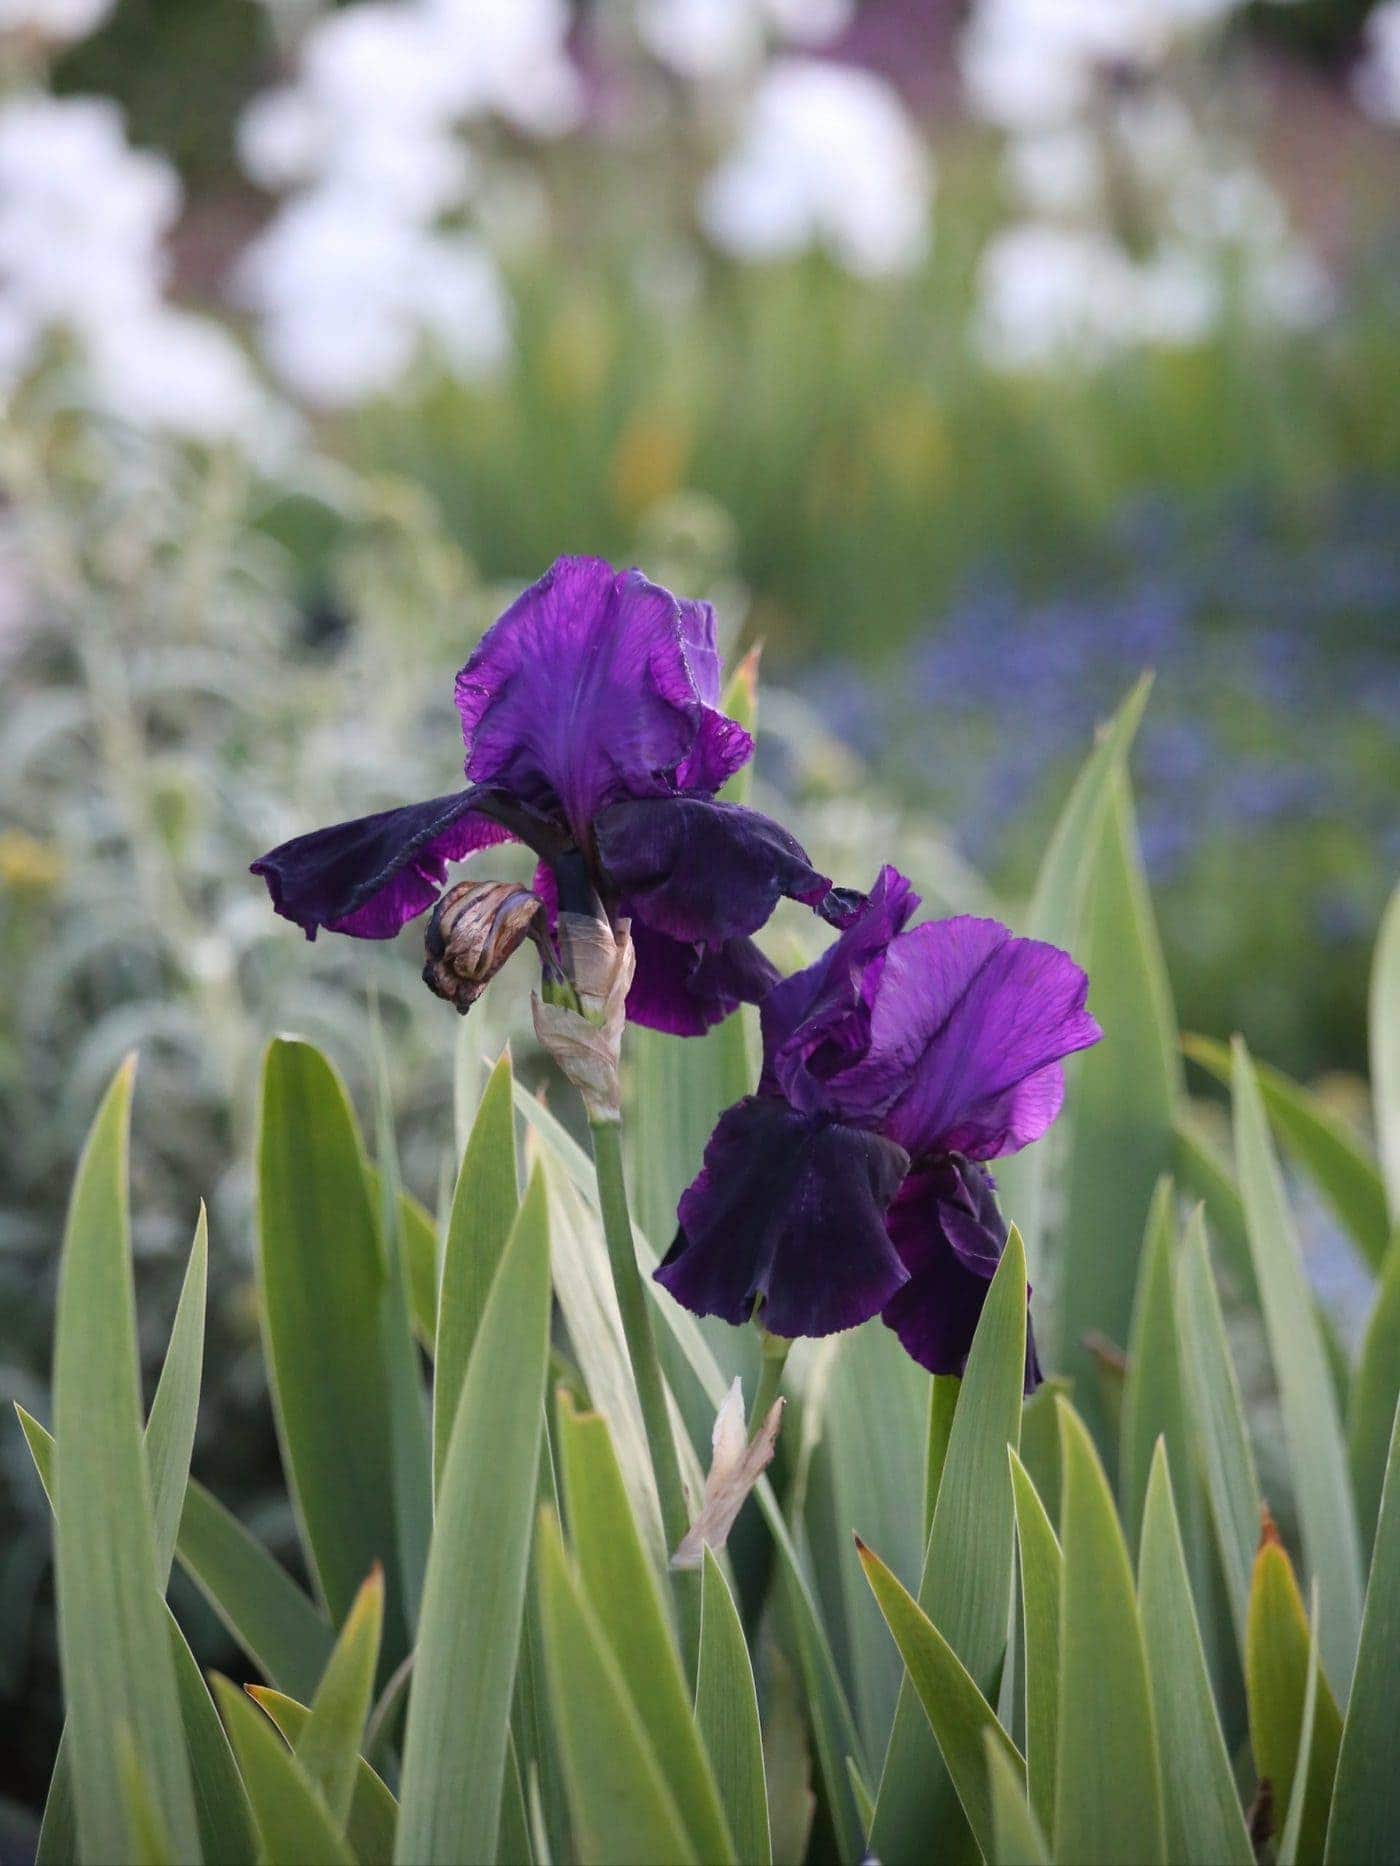
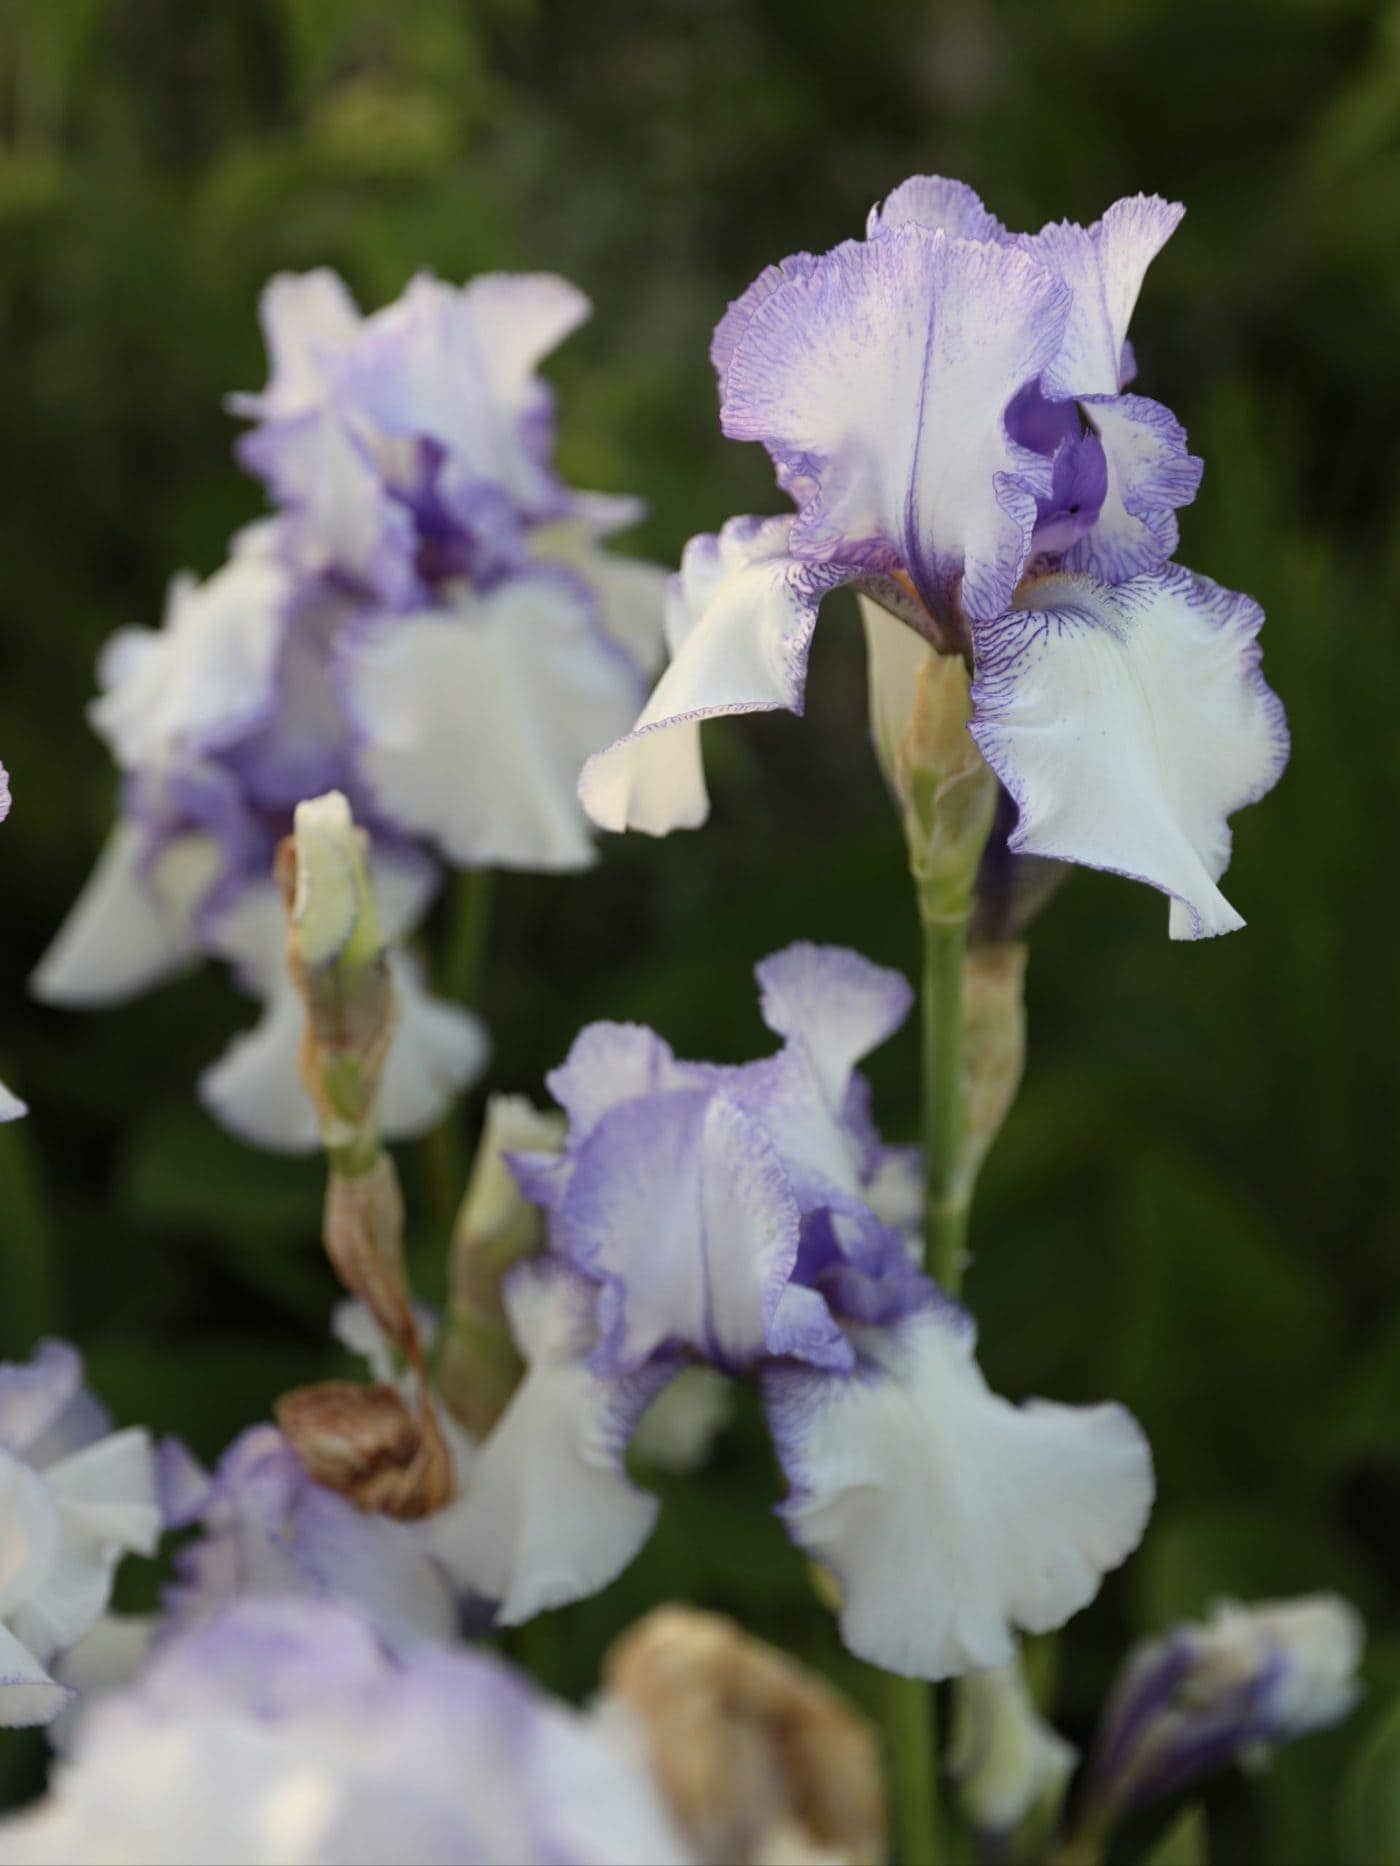
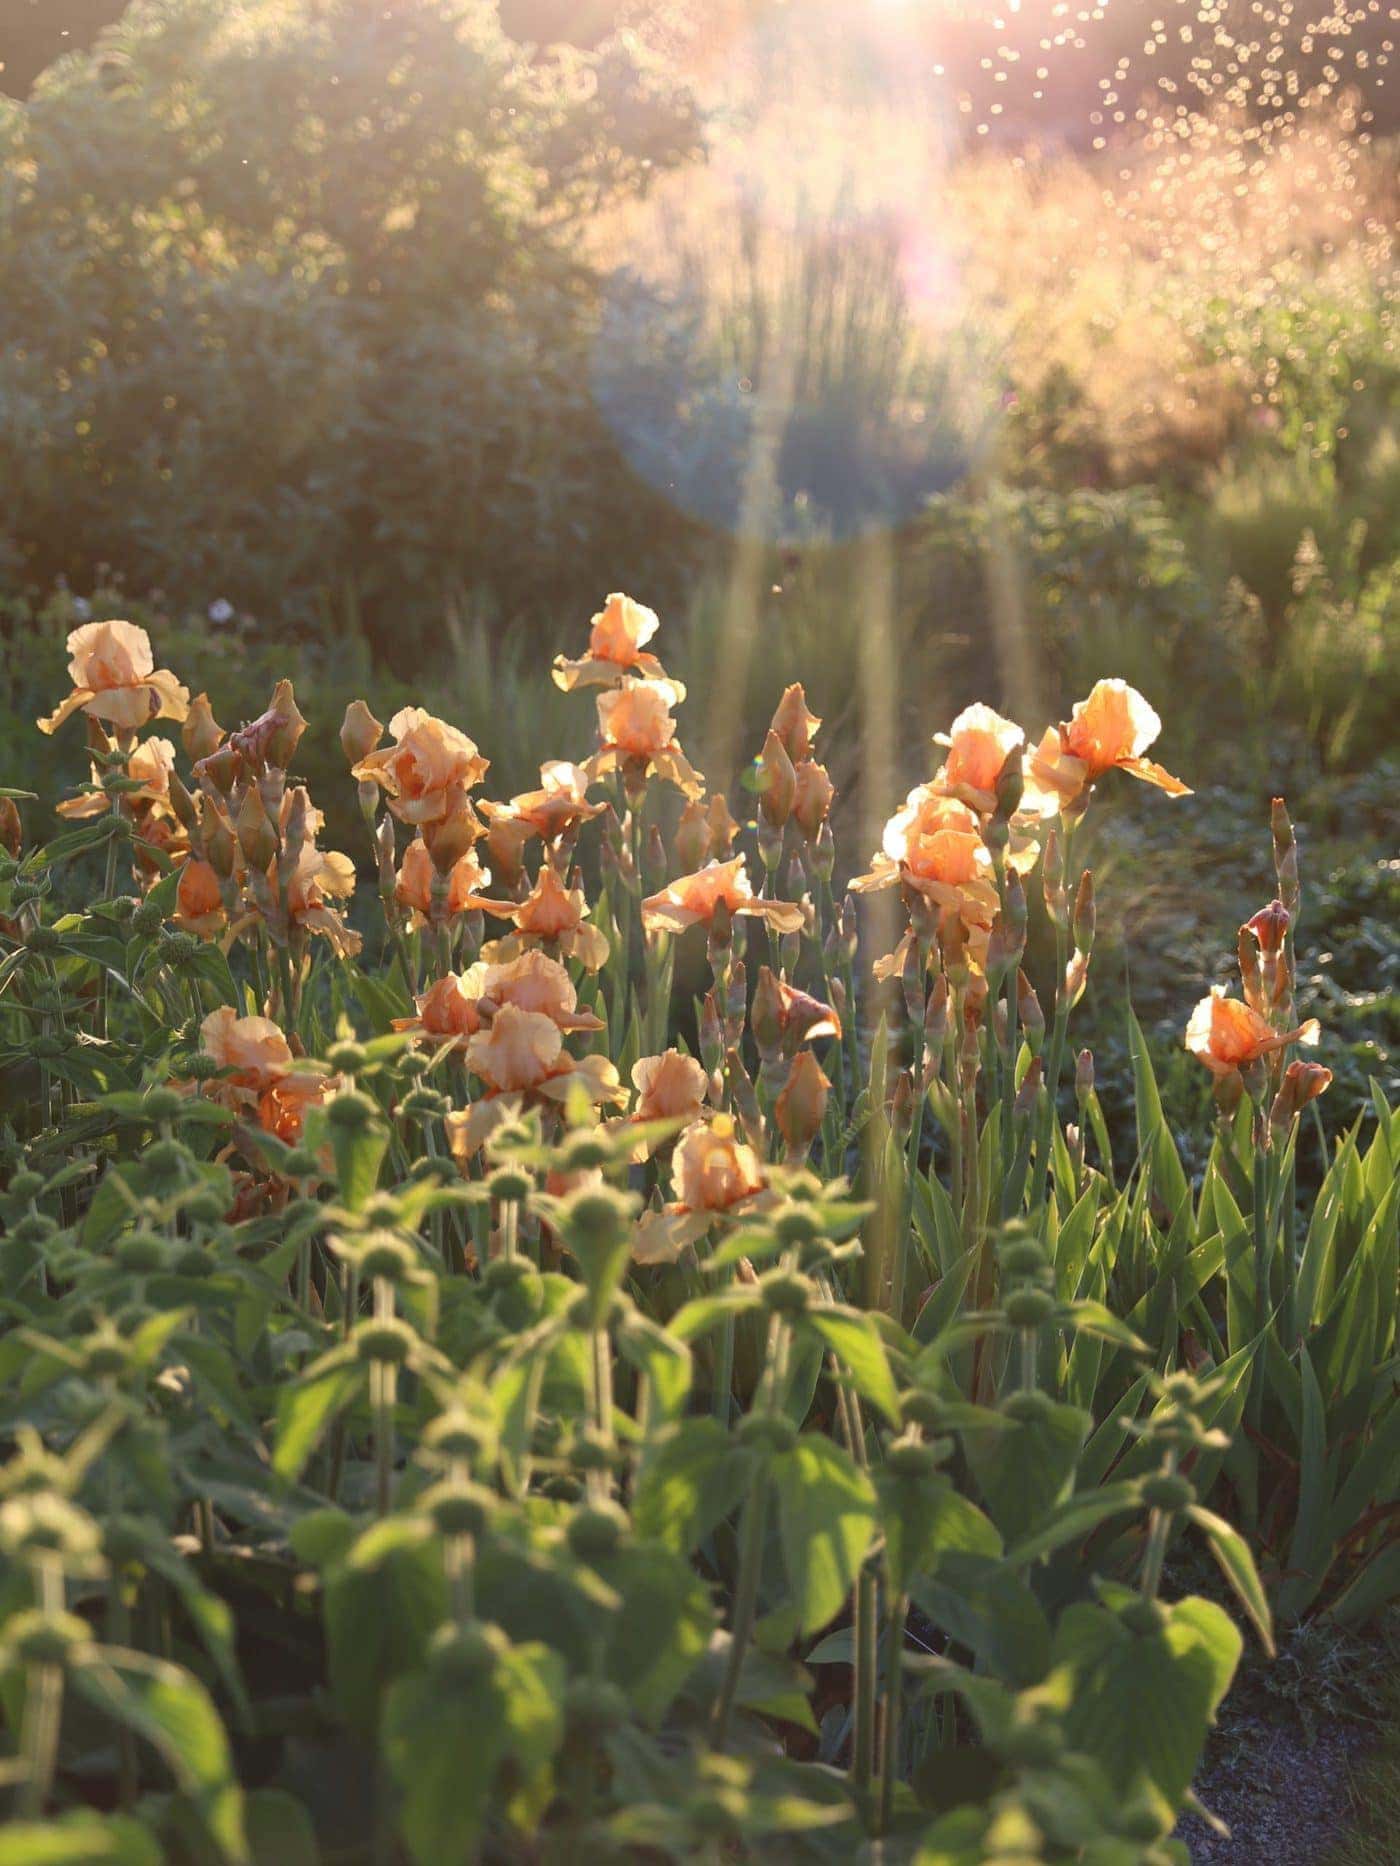
All photographs taken by Owen Hayman, at RHS Garden Wisley in early June 2021.
Owen Hayman
Owen joined the Bestall & Co planting and aftercare team in spring 2019. He is an RHS qualified horticulturist, holding a full Level 3 Diploma in Horticulture, and recently came in the top 3 at the Northern Regional Final of The Young Horticulturist of the Year 2019. After first doing a foundation diploma in Fine Art, he went on to gain a degree and masters in Plant and Soil Science from the University of Sheffield in 2014. Owen worked as a researcher on various field research projects in Alaska, Panama and Borneo. When not away in the field, he became obsessed with visiting gardens and nurseries across the British Isles and the Netherlands, developing his own garden, and then taking on a walled allotment garden as a personal project. He realised his true passion was in horticulture, and so moved away from academia and into the world of specialist plant nurseries and professional gardening.
Owen is now studying the Wisley Diploma, but continues to write articles for us on a monthly basis, and we're delighted to maintain contact with such a passionate and knowledgable plantsman.

