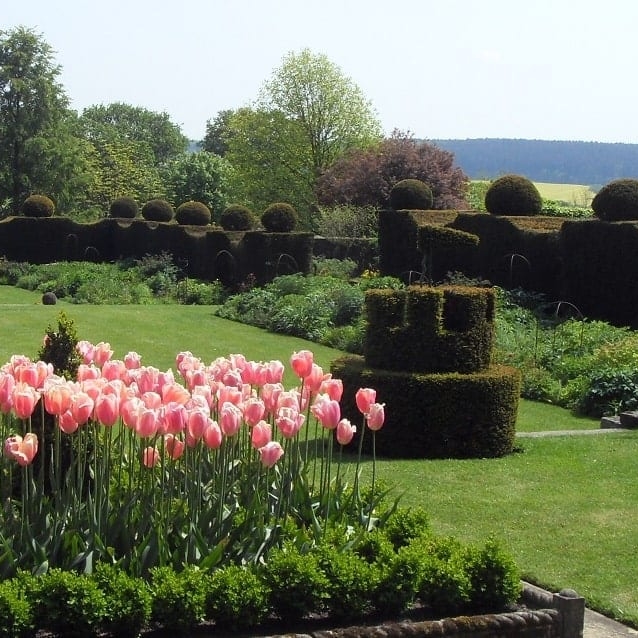
Pleached trees are a beautiful way of bringing living architecture into our gardens. For a higher price they can be purchased in a pleached form. Alternatively, you could try forming your own pleached trees from young plants.
Certain species of tree are much more perfect for pleaching than others. The trees we’re considering are ornamental specimens, although pleaching fruit trees has been a decorative and functional practice for hundreds of years. When pleached, fruit trees are generally termed espaliers.
Some trees perfect for pleaching
- Acer campestre – native field maple
- Carpinus betulus – hornbeam
- Fagus sylvatica – beech
- Fraxinus excelsior – common ash
- Gleditsia triacanthos – honey locust
- Magnolia grandiflora – a large-leaved evergreen magnolia
- Malus – crabapple
- Photinia x fraseri ‘Red Robin’
- Platanus x hispanica – London plane
- Prunus laurocerasus – cherry laurel
- Quercus ilex – holm oak
- Tilia x europaea or T. platyphyllos – lime tree; the latter has large leaves
When selecting trees for pleaching, bear in mind the effect you want to have. You want the grandiose structure of pleached trees, but what about their colour? Photinia ‘Red Robin’ has red tips, thanks to the colouration of its new foliage. Fagus sylvatica comes in a copper-purple form, Atropurpurea Group. Beeches also hang onto their leaves for most of the year. If you want non-stop, year-round screening, then evergreens like Magnolia grandiflora, Prunus laurocerasus or Quercus ilex are ideal. Tilia platyphyllos ‘Rubra’ produces bright red-brown young shoots – an excellent attribute given the regular pruning of pleached trees.
One thing to think about when choosing a species is its effect on wildlife. Observations of bees dying beneath lime trees have been made for hundreds of years, with no sure reason why. Some claim the nectar is toxic or contains baffling caffeine. Kew believes their rich, far-reaching scent draws bees in with little reward, leading to exhaustion. Authorities claim Tilia tomentosa is the worst culprit, hence its exclusion from our list.
You may also use pleaching to form arches and tunnelled walkways. Two types of plant stand out for this purpose, neither being a tree: Laburnum and Wisteria. Ensure they have been grown from cuttings or grafts, as seed-propagated specimens take longer to flower, if at all.
The rules of perfect pleaching
There are eight essential steps to follow to ensure your homegrown pleached trees reach perfection:
- Carefully assess your site. Are planting and growing conditions right for the plant? What is the purpose of the pleaching there? Examples include drawing you to a focal point, dividing the garden up, and screening from neighbours or public spaces. Finally, will pleaching have maximum effect in your chosen spot?
- Gather the necessary equipment: spade, canes or stakes, training wire, soft twine, tie wraps, secateurs.
- Choose young, flexible specimens. These are easier to tie into frames.
- Plant each tree at the correct spacing (1.2-1.6m) in winter. Ensure trees look equal to each other, and also to specimens in any other rows (e.g. if forming a walkway).
- Tie in soft young shoots to form lateral branches in summer.
- Prune outward and unwanted shoots in autumn or winter.
- Annually prune unwanted shoots to one bud from the main laterals, in winter. This retains a smart shape and also encourages leafiness in the growing season.
- Remove support frames after the matured trees can support their own shape.
Remember that pleaching trees from scratch yourself is a slow process requiring patience and vision.
Check out the RHS webpage on pleaching here for more detailed instructions.
Kevin Gelder
Kevin joined Bestall & Co in late 2017 and brought a range of skills with him from a varied background. He gained a degree in French and Italian from Lancaster University in 2009 before successfully completing a PGCE at the University of Sheffield in 2011. He built on his communication skills through secondary language teaching, before working in healthcare administration.
Ultimately though it was his passion for plants and gardening which brought him to Bestall & Co as a member of the planting team, and although he's now moved back to an office based role, the articles he wrote whilst he was still with us live on.


